Filmora for Mobile User Guide
Advanced Editing
If you want to take your video to a higher level, some advanced features of FilmoraGo like Picture-in-Picture (PiP) and Canvas can help you to do that.
PiP
Picture-in-Picture (PiP) allows you to add videos, images, stickers, special effects, or text in a floating window to achieve an overlay effect.
To apply the PiP effect with FilmoraGo, follow these steps:
1. Enter the video editing interface and drag the video on the timeline to make the playhead stay at where you want to add the PiP effect.
2. Tap the Pip.

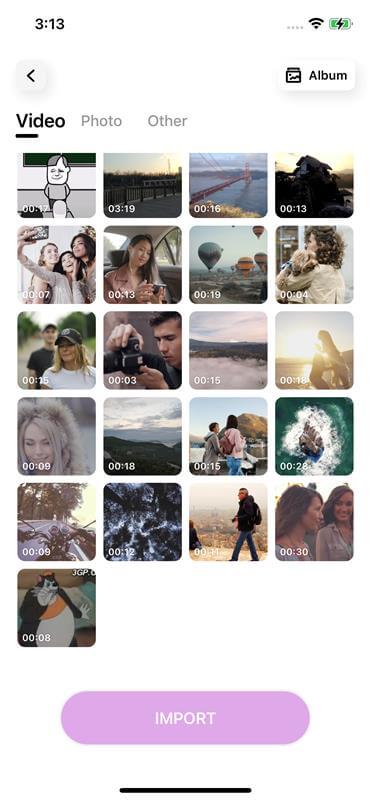
3. Select a video or photo from your phone, and tab IMPORT to add it as an overlay clip.
4. The added overlay clip will be shown in the timeline. You can resize it or change its position in the preview window according to your need.
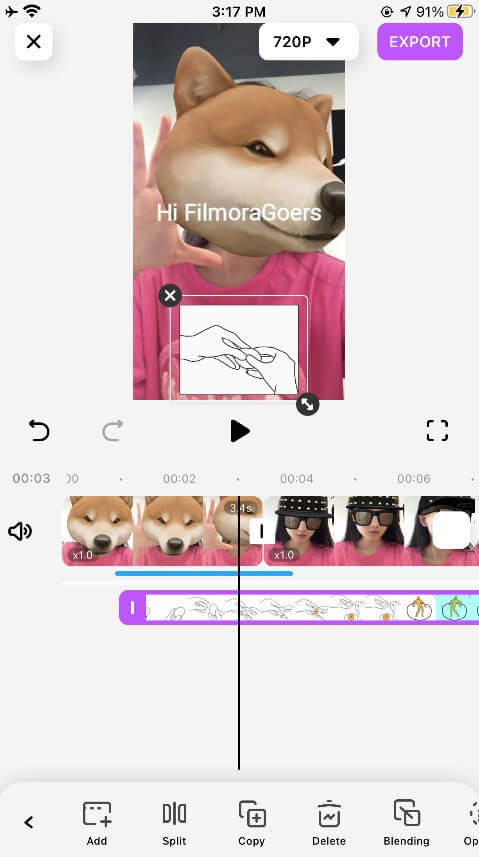
After adding the overlay clip, you can make some adjustments to let it fit your video. You can choose to split, copy, delete, rotate, or freeze it as well as change its opacity, volume, speed and add motion to it.
Moreover, you can even apply the blending mode to achieve the double exposure effect. Just tap the corresponding operation button on the toolbar to unleash your creativity.

Canvas
The Canvas feature of FilmoraGo allows you to add background to your video and choose the best aspect ratio to turn your video into amazing paintings. Here’s a simple guide.
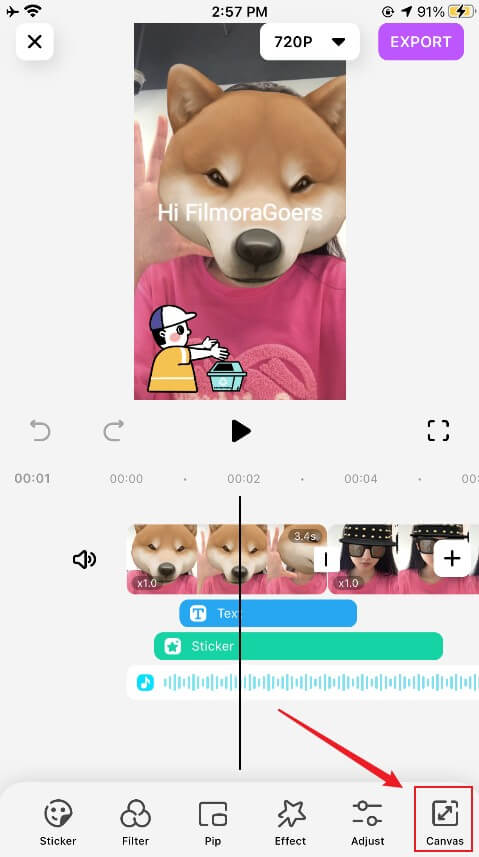
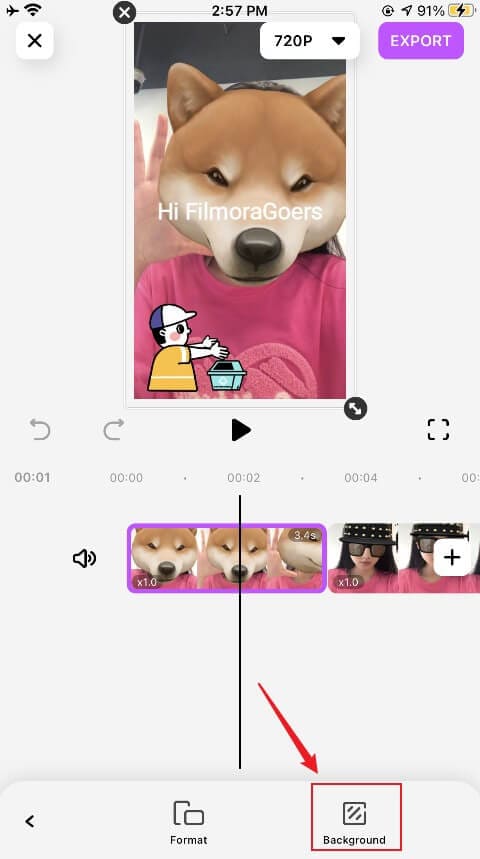
1. Enter the video editing interface and tap the Canvas.
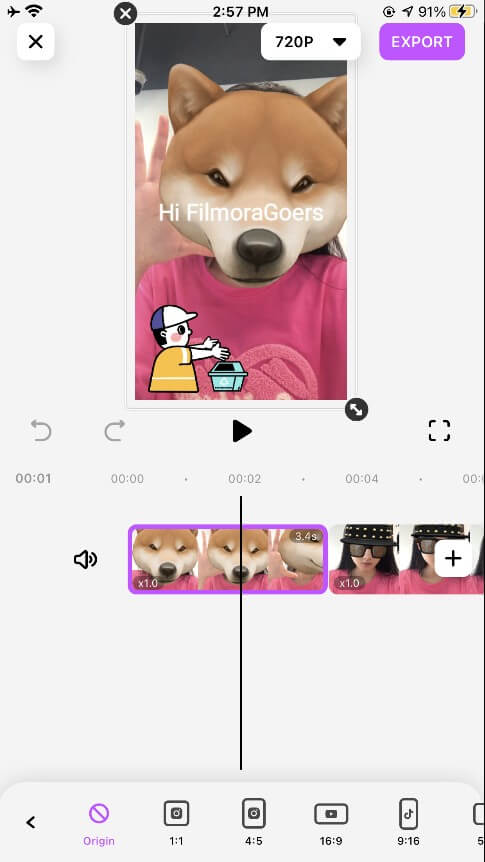
2. If you want to change the aspect ratio of the video, tap Format. And there will be several preset aspect ratios for your choice. Select one that meets your need and tap it to apply it to all video clips.

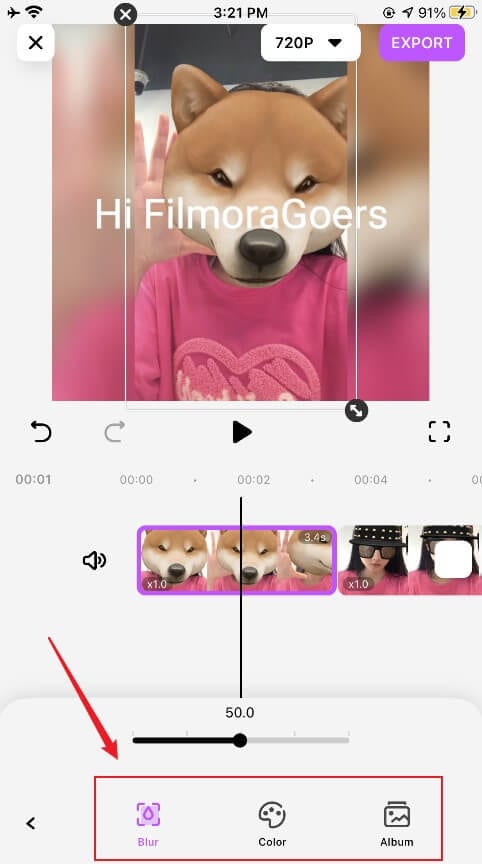
3. If you want to add background to your video, tap the Background. And you can choose to blur your video, or add a solid color background or a photo from your album to it.
AR Camera
AR Camera allows you to make only sticker videos with 3D animation effects, these stickers will track the changes in human faces.
To apply the AR Camera effect with FilmoraGo, follow these steps:
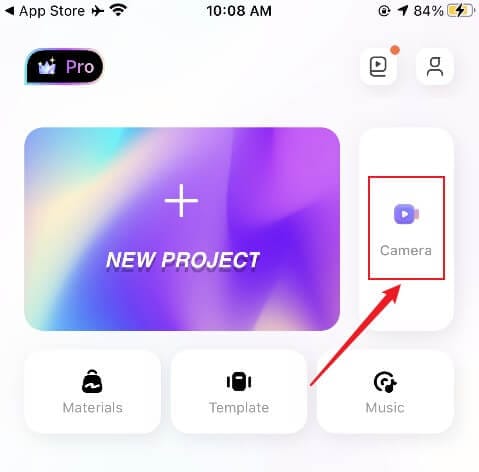
1. Click the Camera button in the lower-left corner of the FilmoraGo interface
2. Click ‘OK’ when FilmoraGo Ask for access to the microphone
3. Enter the camera interface, at the top left of the screen, you can click the icon to adjust the video ratio, turn on the flash, or switch the front and rear cameras;
In the middle of the screen, you can swipe with two fingers to zoom in or out;

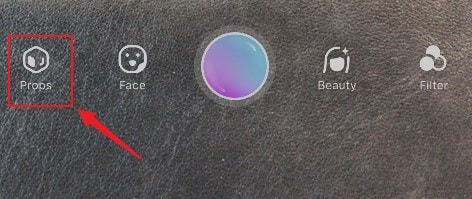
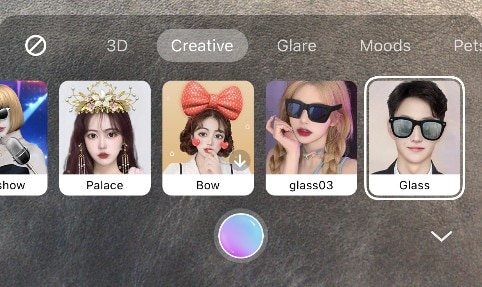
4. At the bottom of the screen, click ‘Props’ to preview a variety of 3D sticker effects; You can also click the ‘face’ button to try the spoof effect of the distorted face
5. Choose the effect you like to preview and click the red button to start recording the AR video.
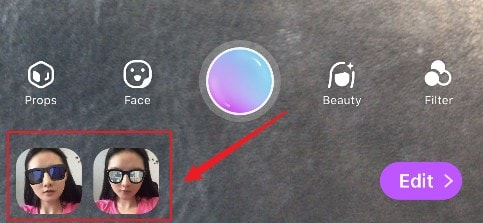
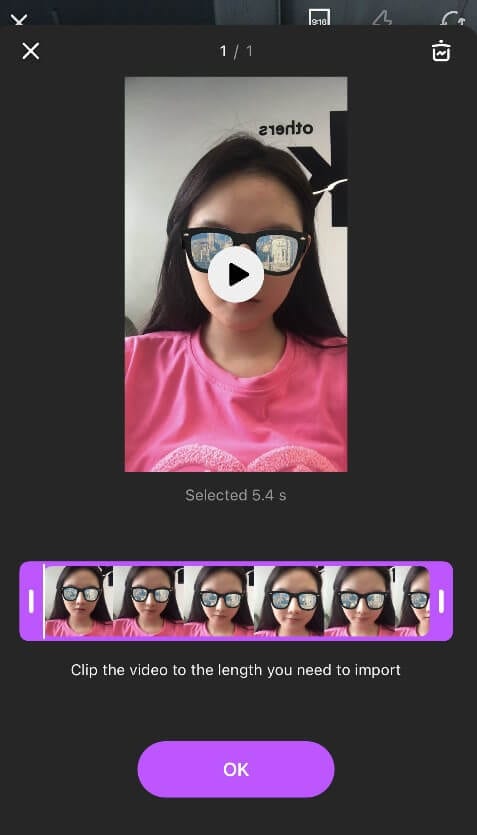
6. Once you finish recording, the video will be automatically saved to the bottom left, click on the bottom left video, you can trim or delete the video clip you just shot;
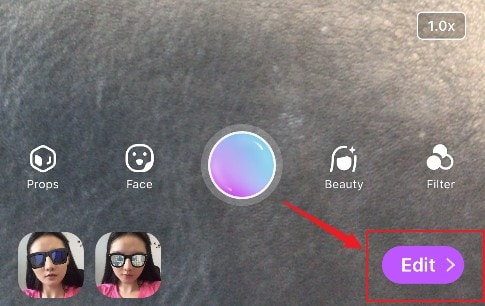
7. If you are satisfied with the video you have taken, you can directly click the Edit button in the lower right corner to enter the timeline editing
8. The AR video clip just shot will automatically appear on the timeline
(Note: If you have taken multiple clips, FilmoraGo will automatically arrange the videos in chronological order)
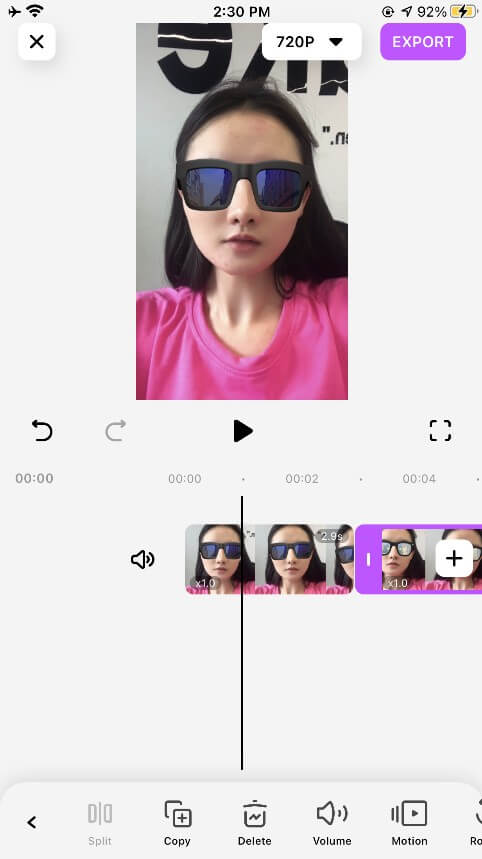
Video Beautification
To retouching your selfie video, follow these steps:
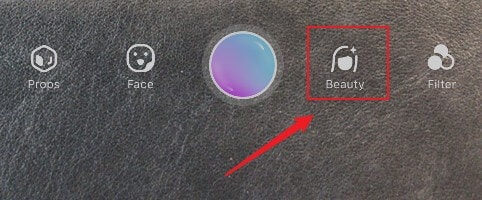
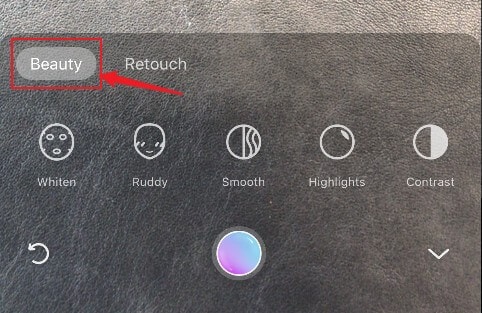
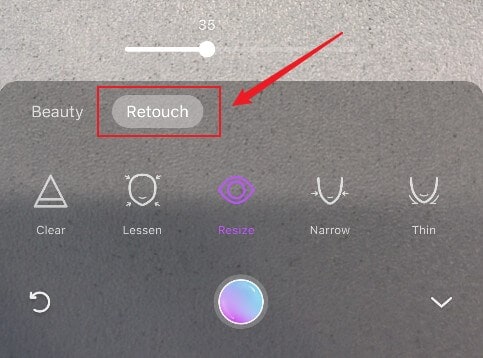
1. Click the ‘Beauty’ button on the camera interface
2. In the "Beauty" function, you can click "Whiten", "Ruddy", "Smooth", "Highlight", "Contrast", "Saturation", "Clear" to adjust the desired video effect, Once a function is selected, you can drag left and right on the upper wheel to adjust the modification intensity
(note: Swipe to the left in the icon area, you can see more decoration function buttons)
3. You can preview the effect of face modification on the screen. After finishing the desired level of video beauty adjustment, you can click the red button to start recording.


