Think Bigger From Filmora User Guide
Create a New Project for Android and iPhone
In Filmora for Mobile, users can create new projects using three different methods. These include using existing media files from your Android or iOS device, trying the app’s numerous editing templates, and starting new projects with videos and images you create through Filmora’s built-in camera function.
Index
Filmora for Mobile Filmora for Mobile Filmora for Mobile Filmora for Mobile Filmora for Mobile
Edit Videos on Your Mobile Phone with 1-Click!
- • Powerful Brand New AI Features.
- • User-friendly video editing for beginners.
- • Full-featured video editing for professional.
 4.5/5 Excellent

Create a New Project with Videos or Photos on Your Phone
Getting started with editing in Filmora for Mobile requires creating a new project within the app. The first method involves importing your mobile device’s videos or images from the gallery app. To create a new project with videos or photos from the phone, users should follow these steps:
1. On the startup screen, tap the Quick Access panel’s large blue New Project button.
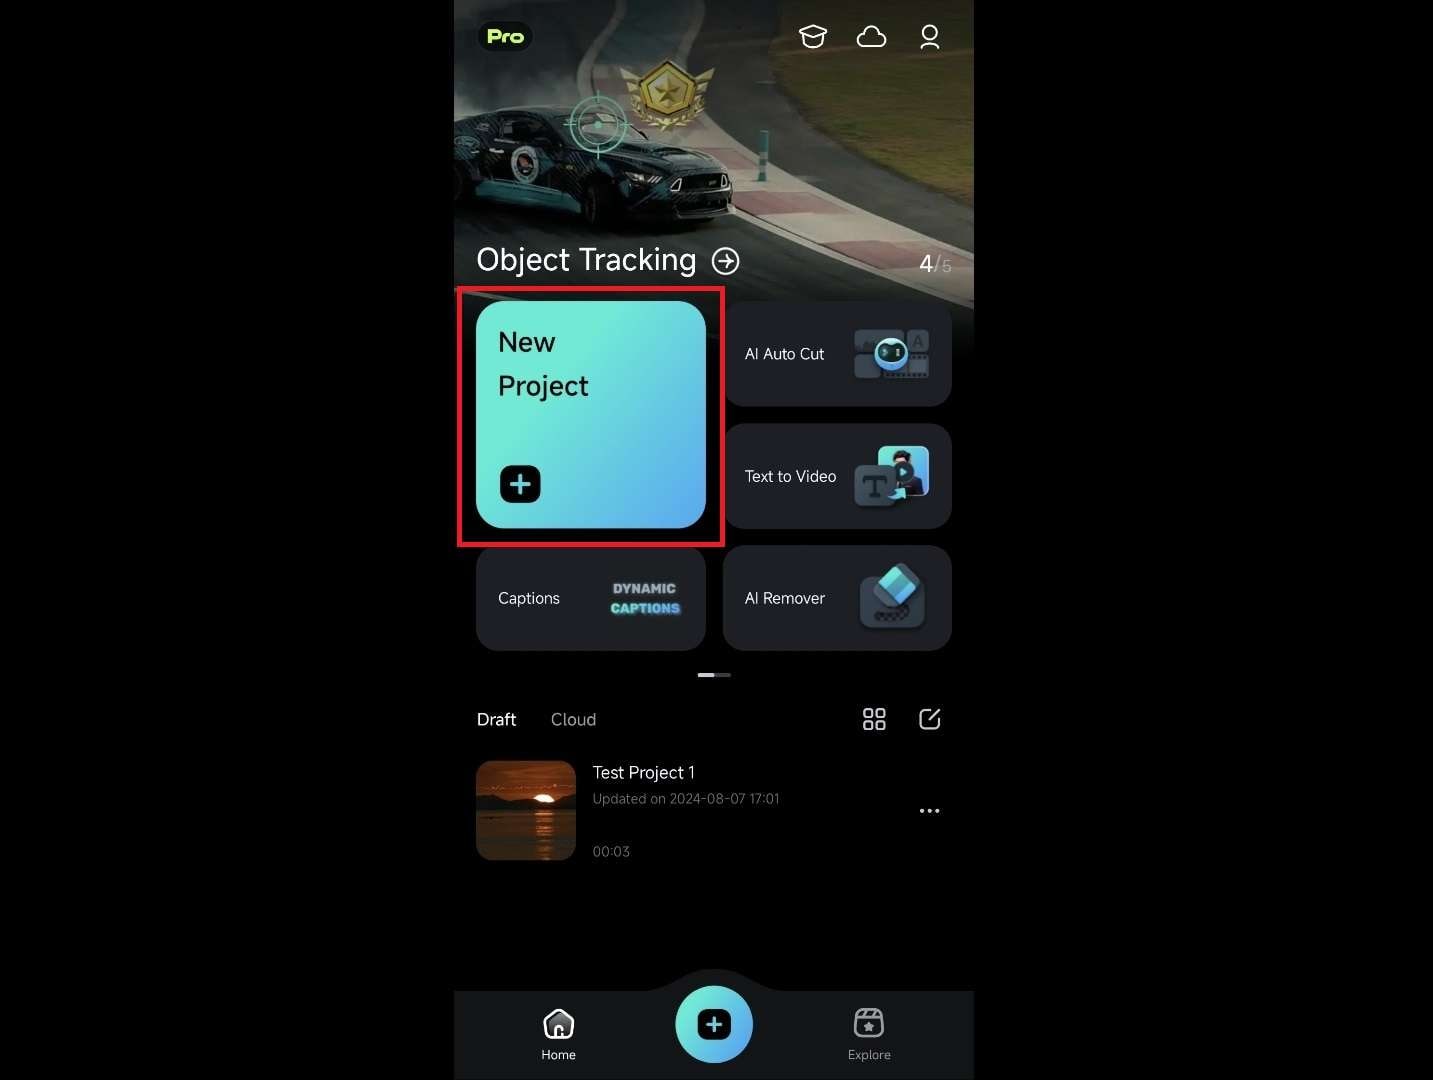
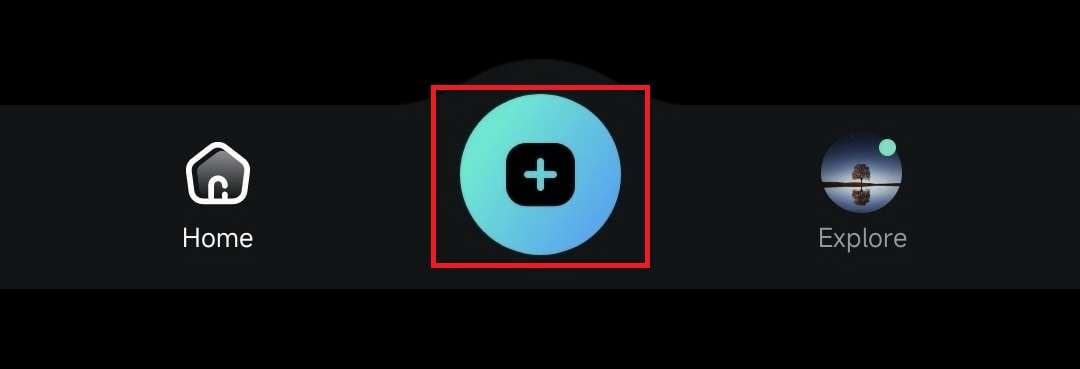
2. Alternatively, tap the blue and black Plus icon in the menu bar at the bottom.
Create a New Project with Templates
Filmora for Mobile also features video editing templates that can significantly speed up your workflow. You can access them by doing the following:
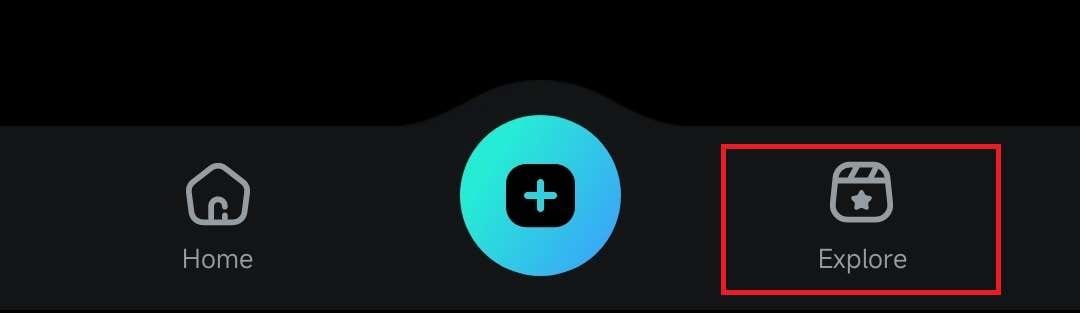
1. On Filmora’s startup window, tap the Explore button in the Menu bar at the bottom.
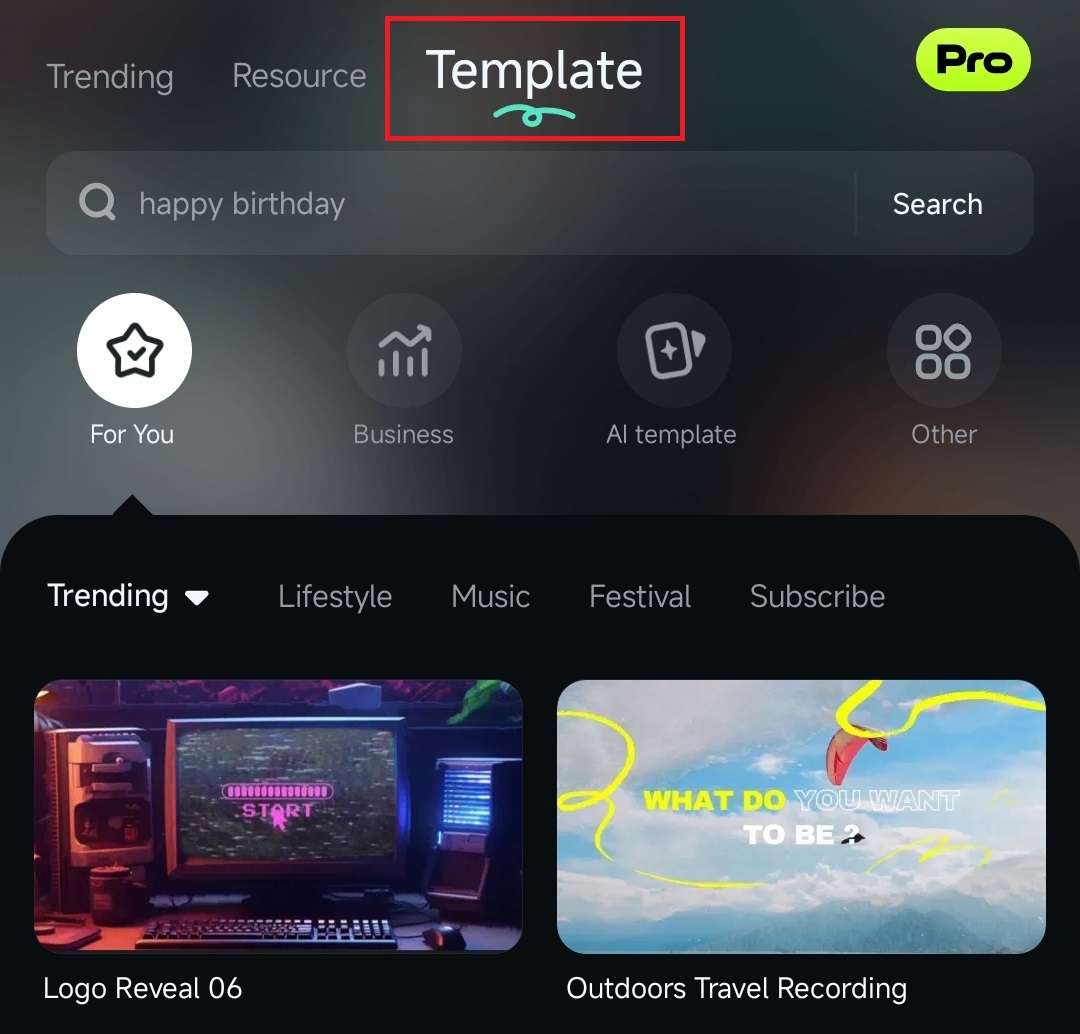
2. Click the Template tab at the top of the screen.
3. Once you've selected a pre-made template from the Explore page, tap the Make video button at the bottom of the screen.

4. Import one or more videos from your local album or from the library.
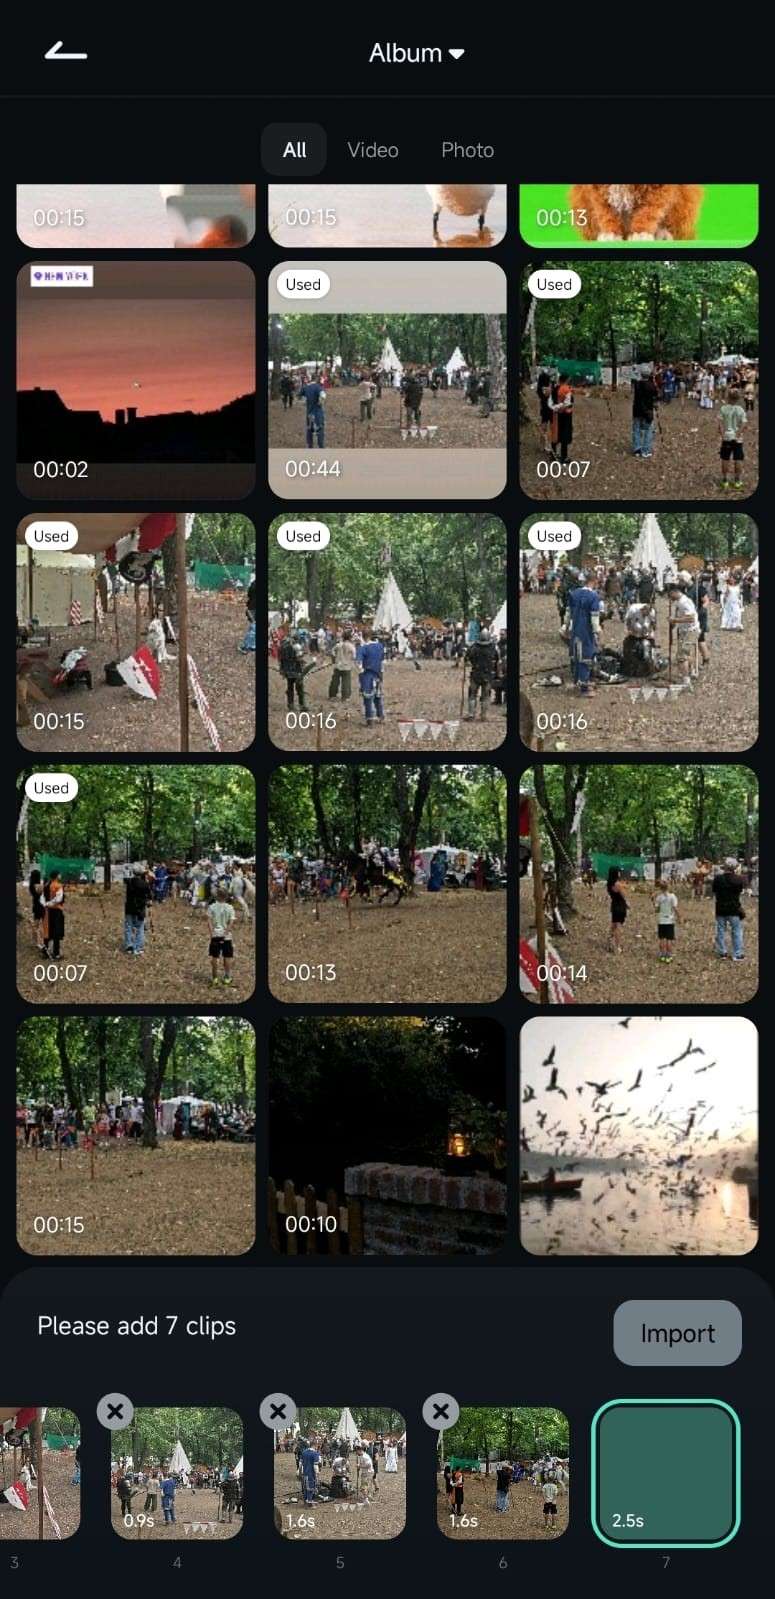
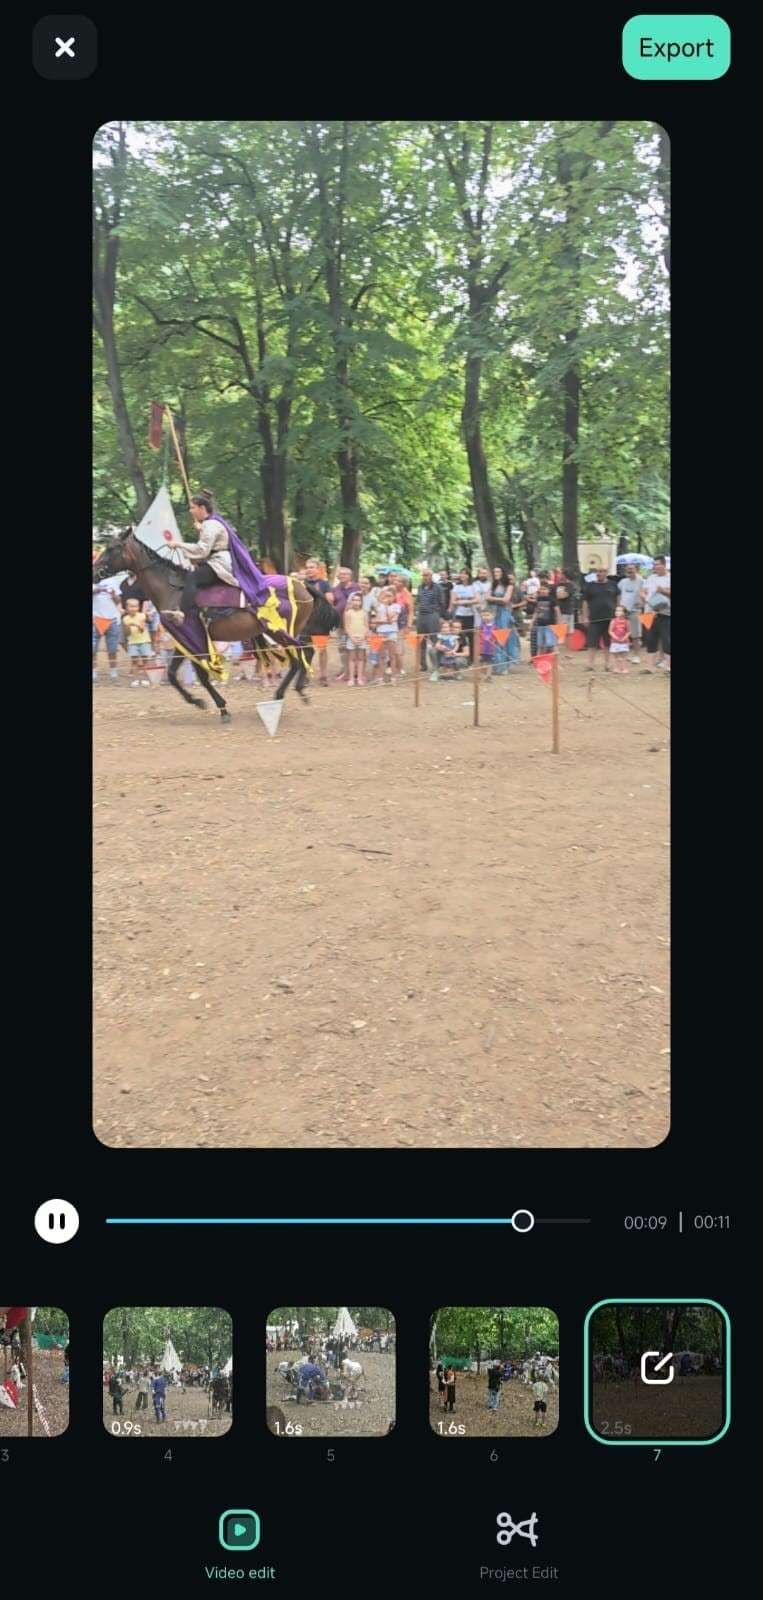
5. Filmora will then create an edit with your clips, and you can play it to see the final results.
Create a New Project with the Camera Feature
Finally, there’s the option of creating new photos and videos with the mobile app’s built-in Camera, which you can access by following these steps:
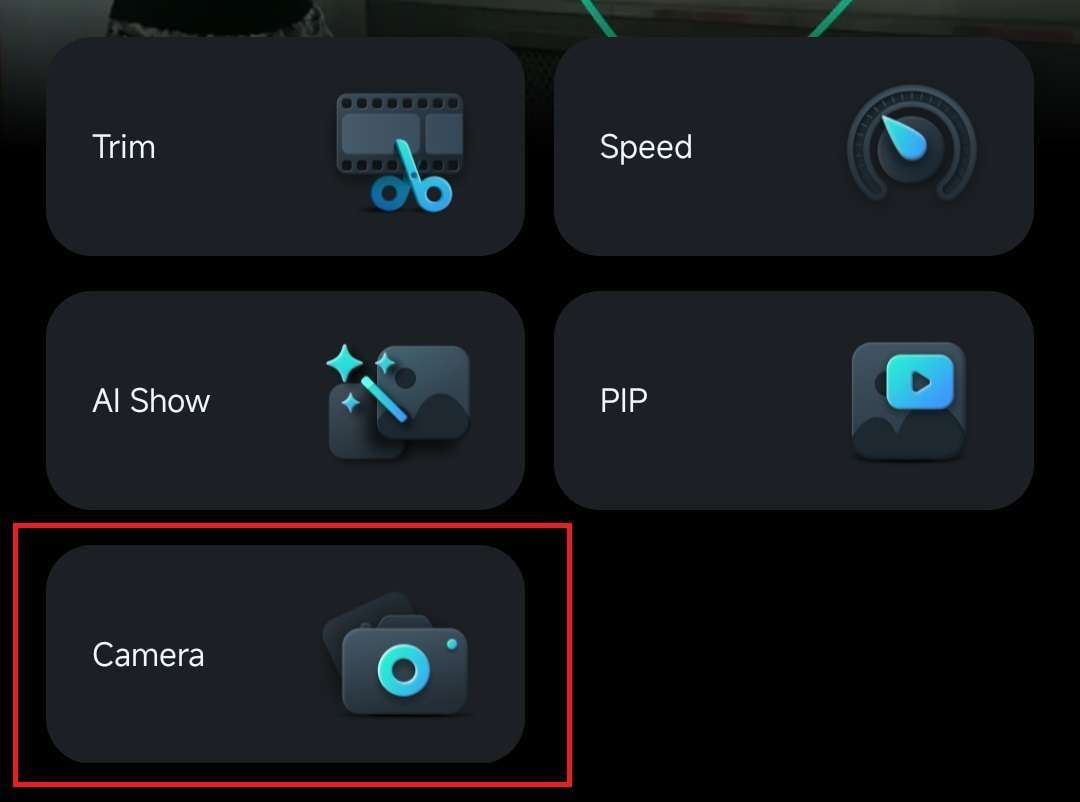
1. Swipe in the Quick Access panel to find the Camera option and tap on it.
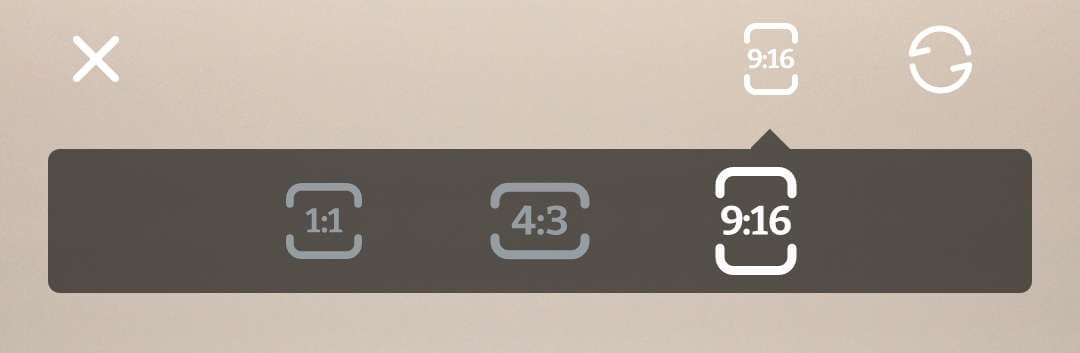
2. In the top right corner, adjust the Aspect Ratio or switch between the front and back cameras by tapping the Switch button.
3. In the lower part of the camera’s screen, you can switch between Photo and Video options, depending on what you’d like to create. Various Beauty effects, Stickers, and Filters are also available here, allowing you to create and work with highly unique media files.

Conclusion
There are three different ways to create a new project in Filmora for Mobile. For starters, editors can create new projects with videos and photos from the phone. Moreover, users can also try Filmora’s ready-to-use editing templates in the Explore section or create new images and videos with Filmora’s integrated Camera. So, try Filmora for Mobile today and see how seamless editing on the go can get.