How to Reverse video on iPhone
Apple's limited video editing functions don’t include an option to reverse video on iPhone which could be a little daunting.
Reverse videos are increasingly becoming a trend on social media.
The creative reverse videos keep popping in and, there’s no reason you shouldn’t make one.
Reverse video on iPhone takes even the poorest clip to the next level.
A perk of making reverse videos is you can use all kinds of footage.
Whether it’s a clip of your cat purring, bouncing a basketball, or even sipping water, don’t limit your creativity and hit the reverse button and watch how mind-blowing your video can be.
Having all those creative video ideas but being unable to implement it in your iPhone videos can be a little frustrating.
However, to avoid frustration, third-party video editing applications were made.
These video editing applications solve every apple restrictions that withholds you from creating fun videos.
A recommended video editor with a reverse function is FilmoraGo and, we’ve outlined the steps to reverse video on iPhone using FilmoraGo.
- Steps to reverse video with FilmoraGo on iPhone
- Steps to reverse video with an online video editor on iPhone
Steps to reverse video with FilmoraGo on iPhone
FilmoraGo is an easy-to-use video editing app furnished with powerful editing tools and advanced features.
FilmoraGo provides you with tons of ways to get creative with its functions. You can create movies, music videos, project videos and, any video genre of your choice.
FilmoraGo is the first iOS video editor with a dual camera function to film your video from scratch.
Hence you necessarily don’t have to use your iPhone’s in-built camera to film a video before editing it.
You can go through the direct process of filming and editing simultaneously with FilmoraGo.
Step 1: Install FilmoraGo from the App store.
every beautiful moment in life.
Install FilmoraGo Now!


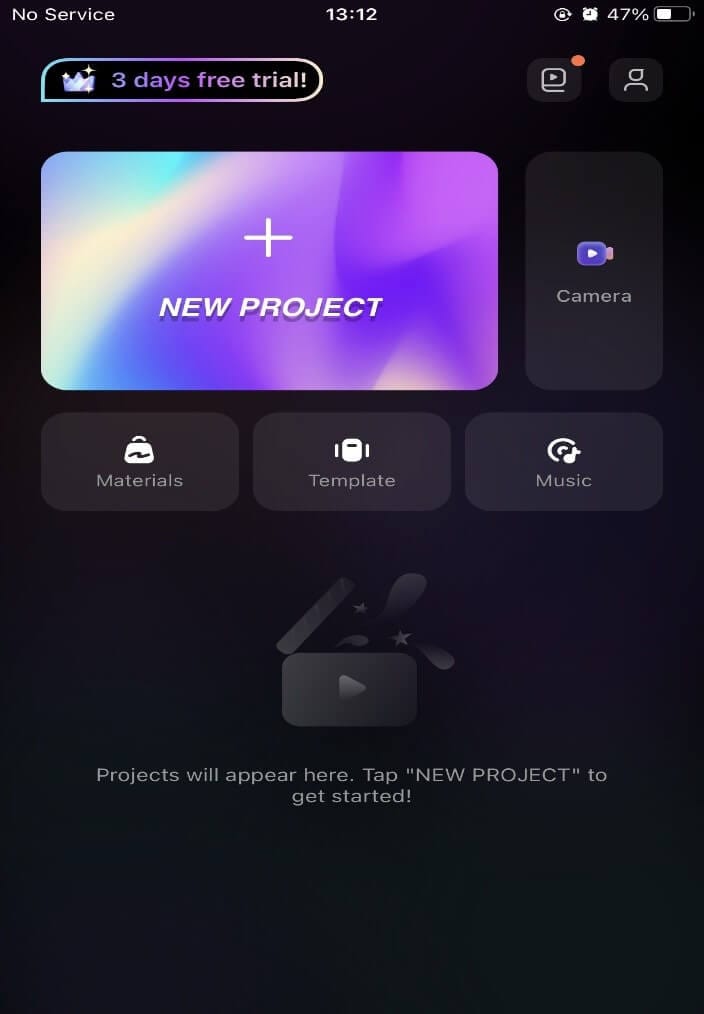
Step 2: Tap on the + sign that reads new project to begin
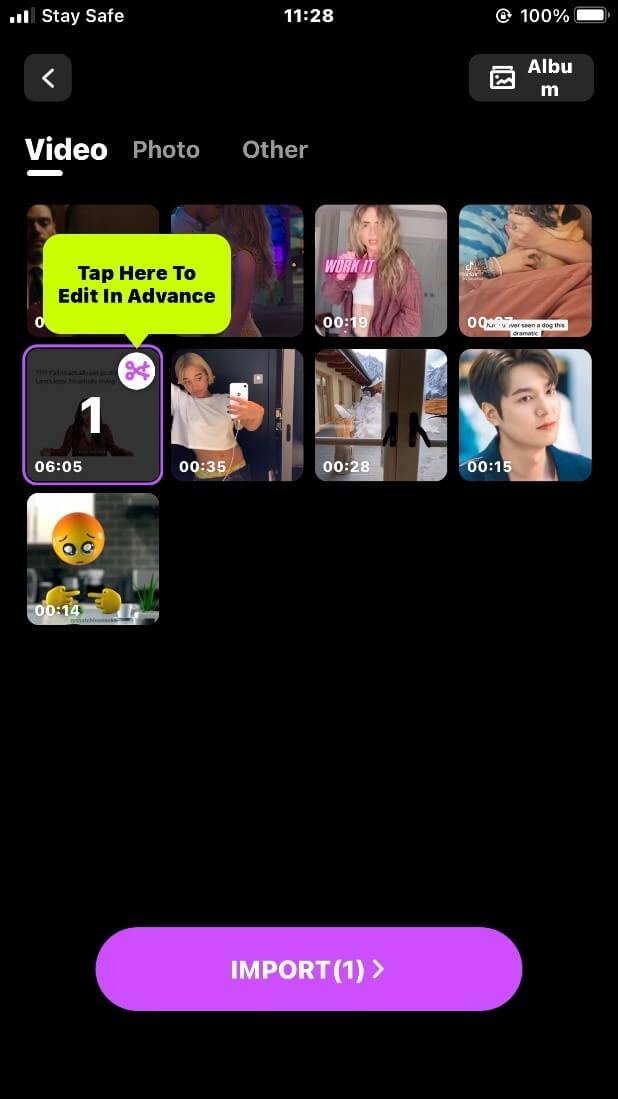
Step 3: Select the video you want to use and import.
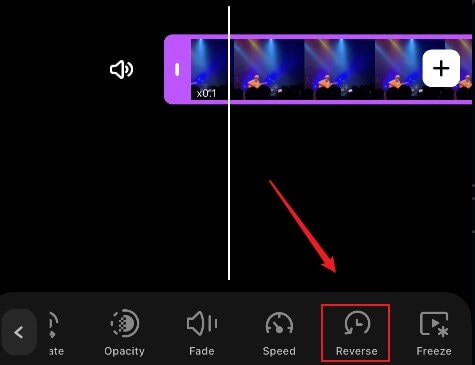
Step 4: Click on the timeline to select the video you want to edit (when a purple border appears in the video, it means you have selected the video)

Step 5: You will see multiple function buttons at the bottom, Swipe from right to left, and you will see the ‘reverse’ button, tap on the reverse button to reverse video on iPhone.
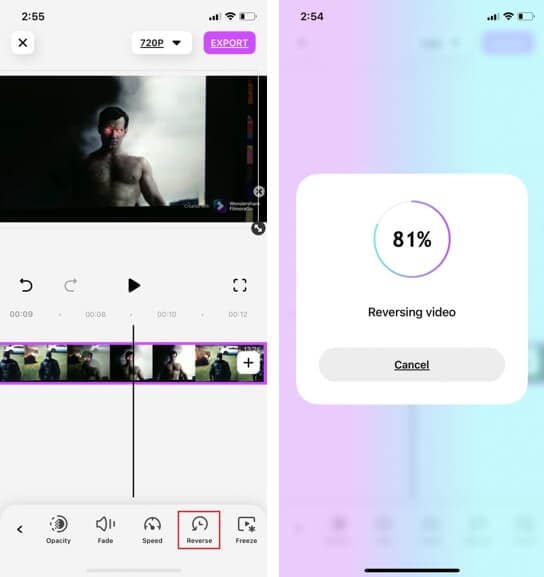
Step 6: The video will automatically rewind, during which you can click “cancel” to cancel.
Step 7: After the video is reversed, it will be automatically displayed on the timeline.
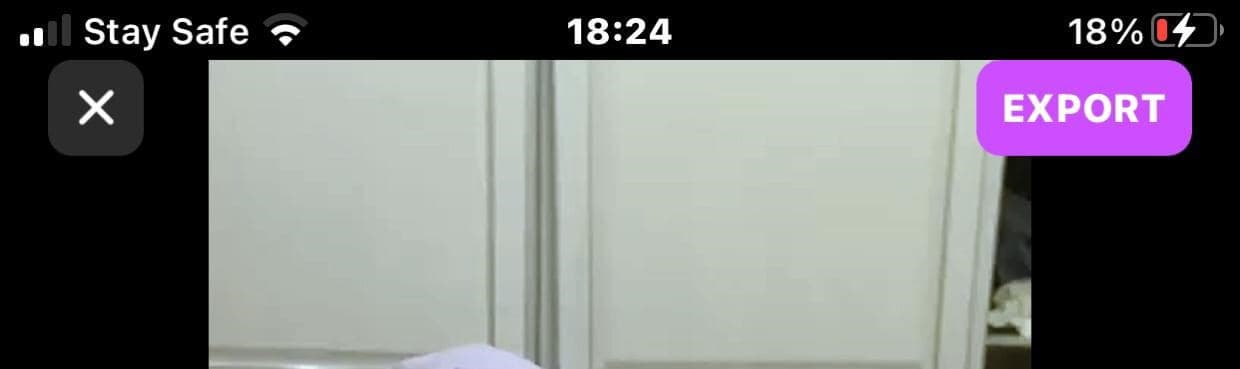
Step 8: Now, you can click ‘Export’ to save the video you reserved.
Steps to reverse video with an online video editor on iPhone
A powerful online video editor with the reverse function is Ezgif. Although ezgif is an online GIF editor, its functions work for another video format as well.
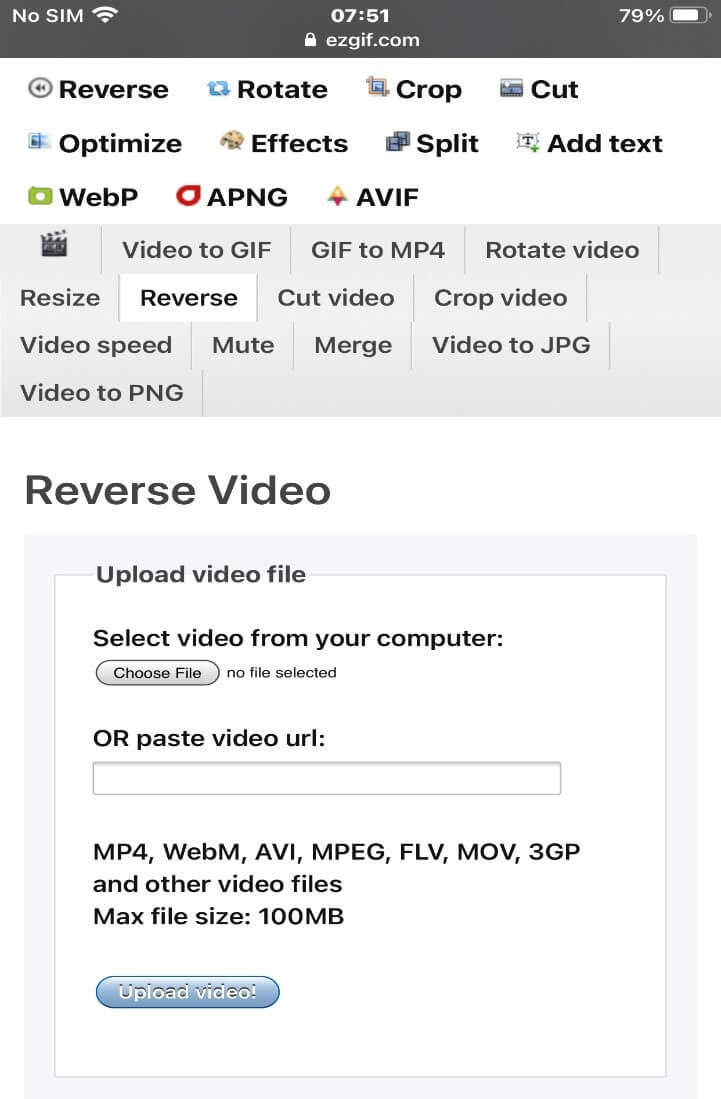
Ezgif reverses video with a maximum file size of 100MB. Ezgif is an easy-to-use online editor with free functions.
The steps to reverse video on your iPhone using ezgif are;
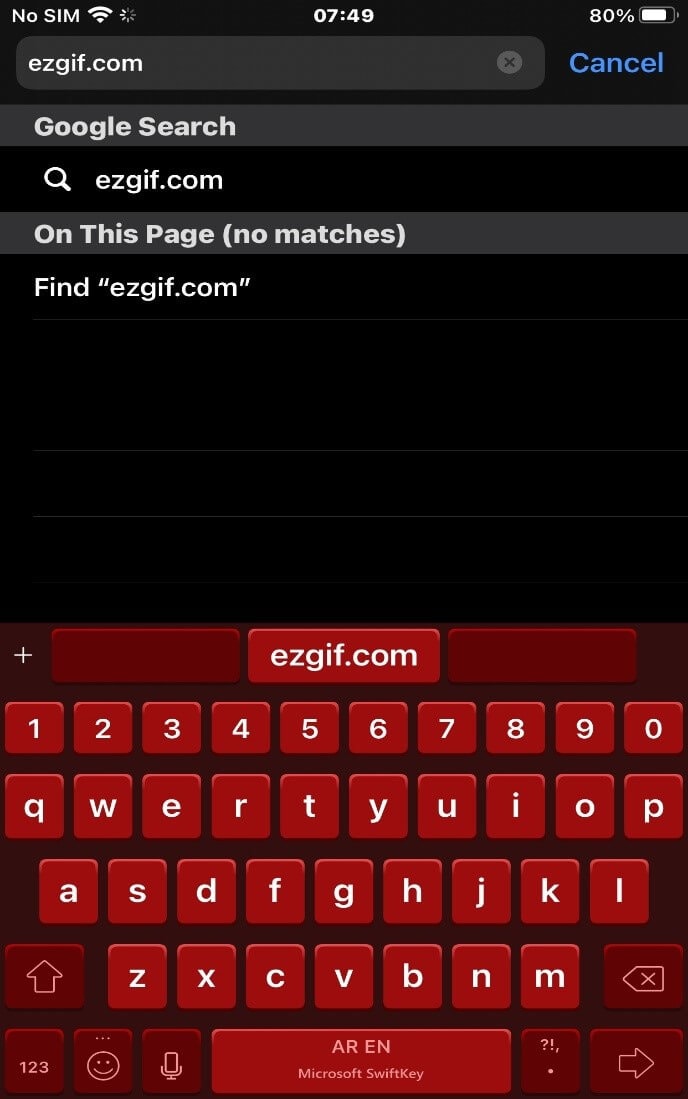
Step 1: Type in ezgif.com in your browser on your iPhone.
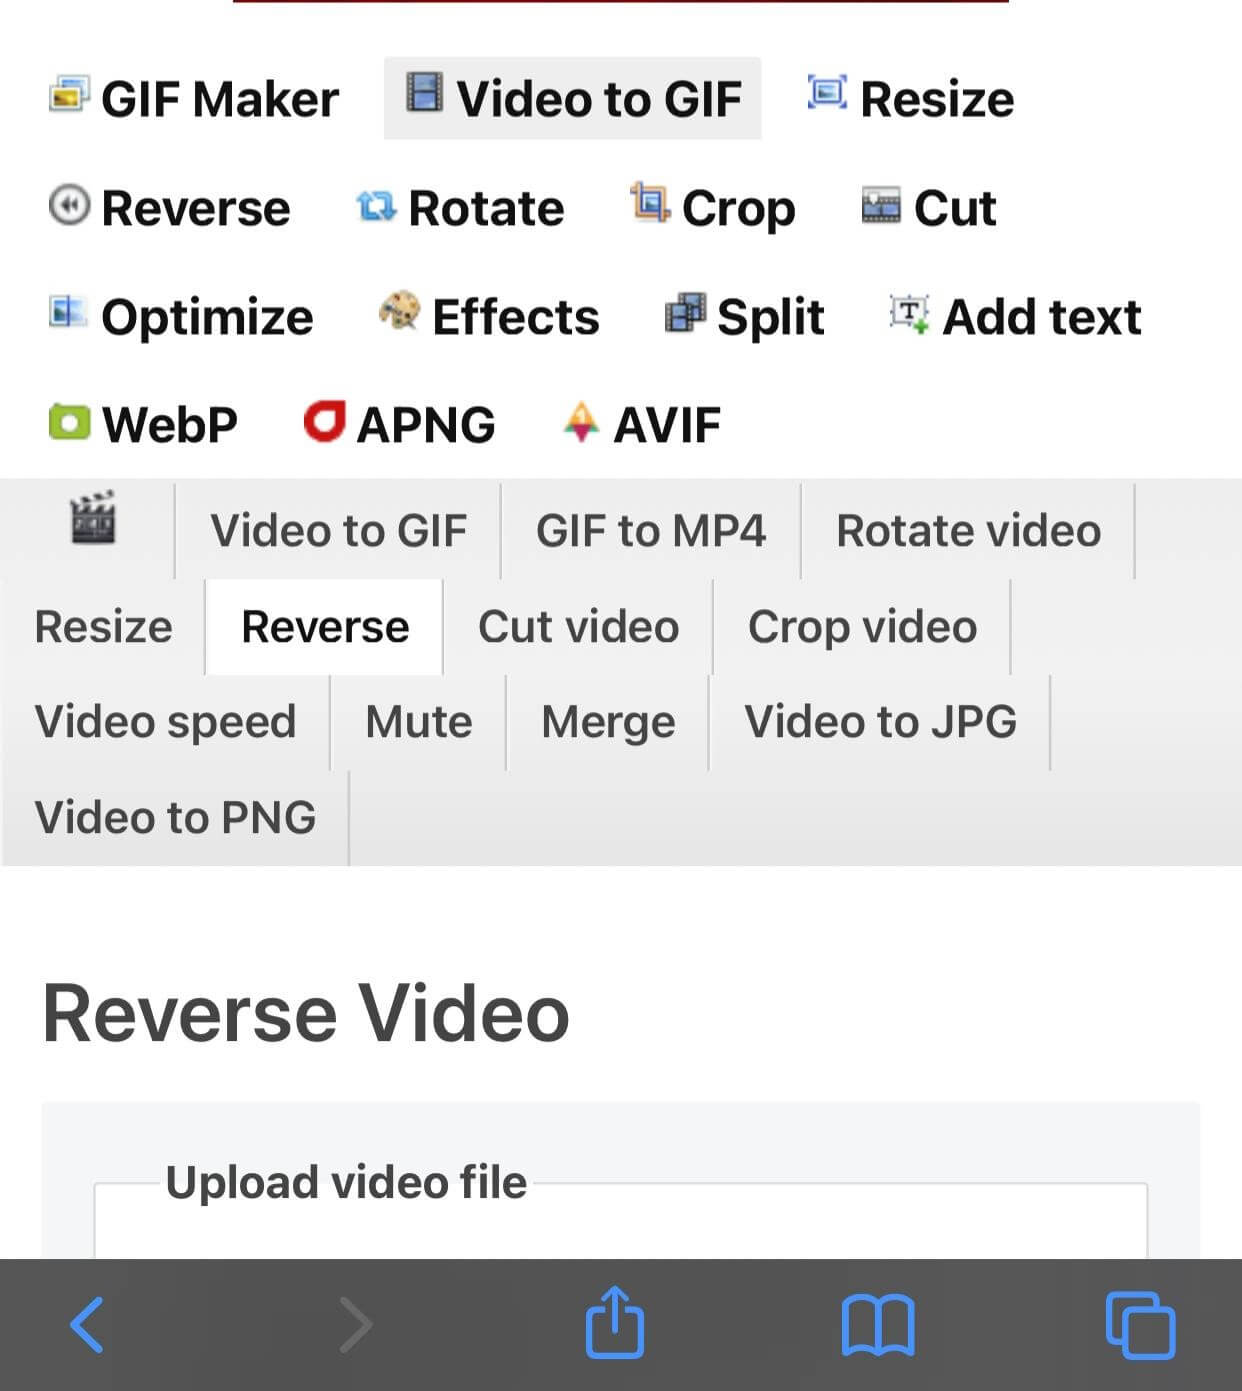
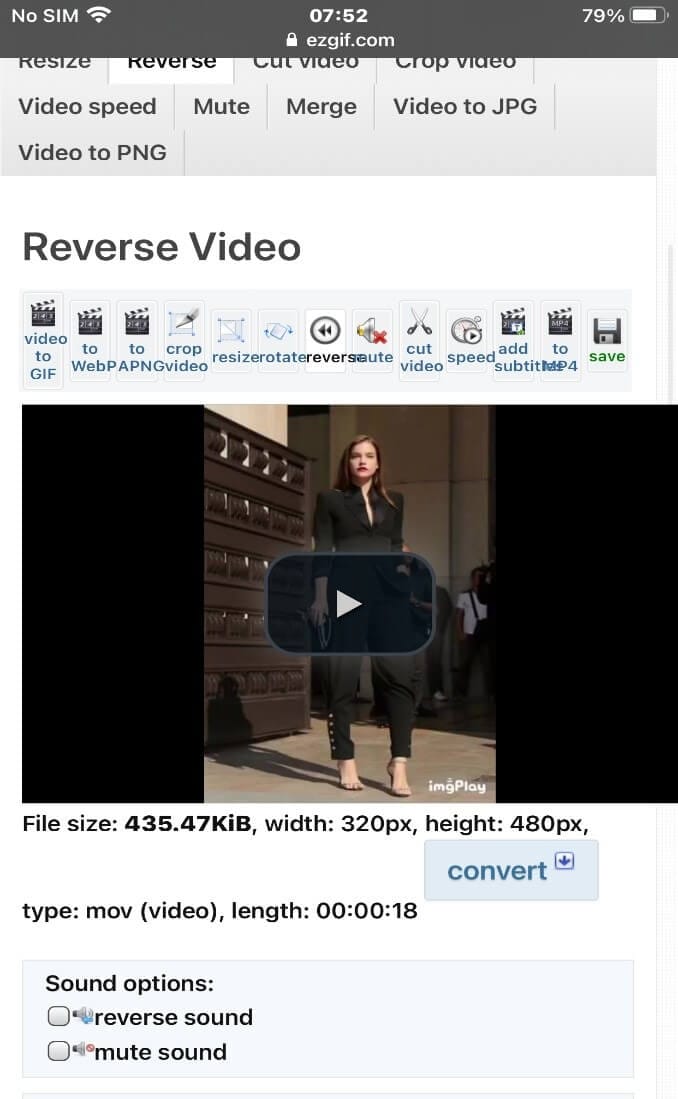
Step 2: Tap on the “reverse” option to take you to the reverse interface.
Step 3: Upload your video by tapping on “choose file”. You can also upload the URL of the video as well.
Step 4: You can mute or reverse the sound of your video from either of the sound options below.
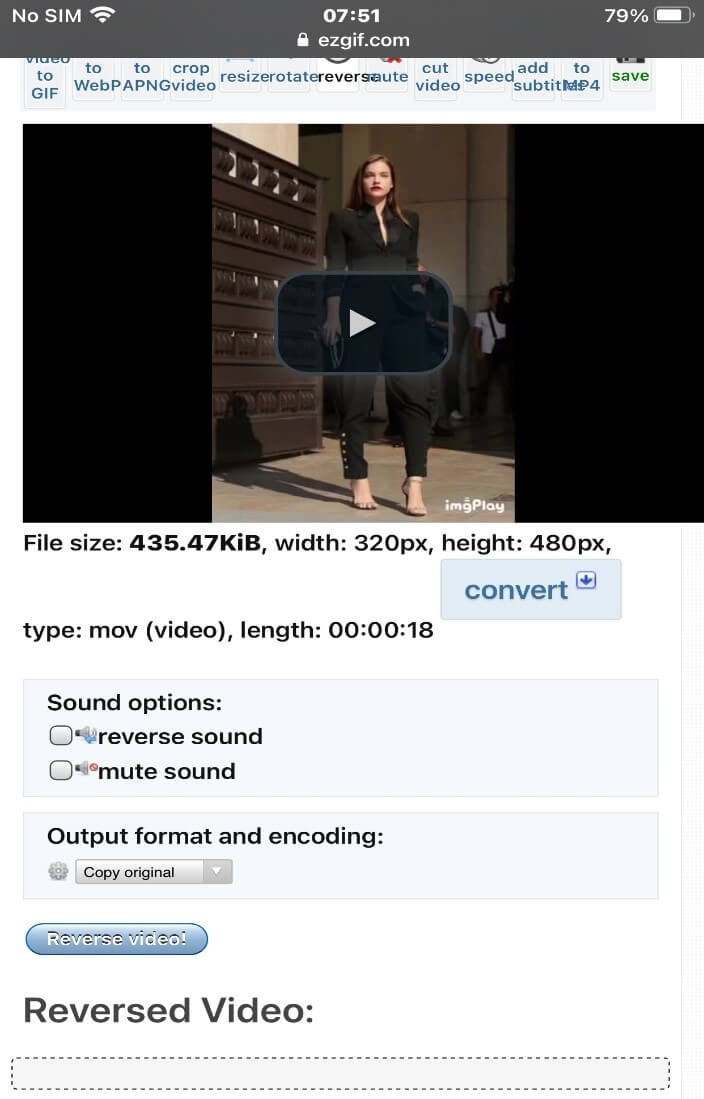
Step 5: tap on the reverse button below to reverse video on your iPhone.
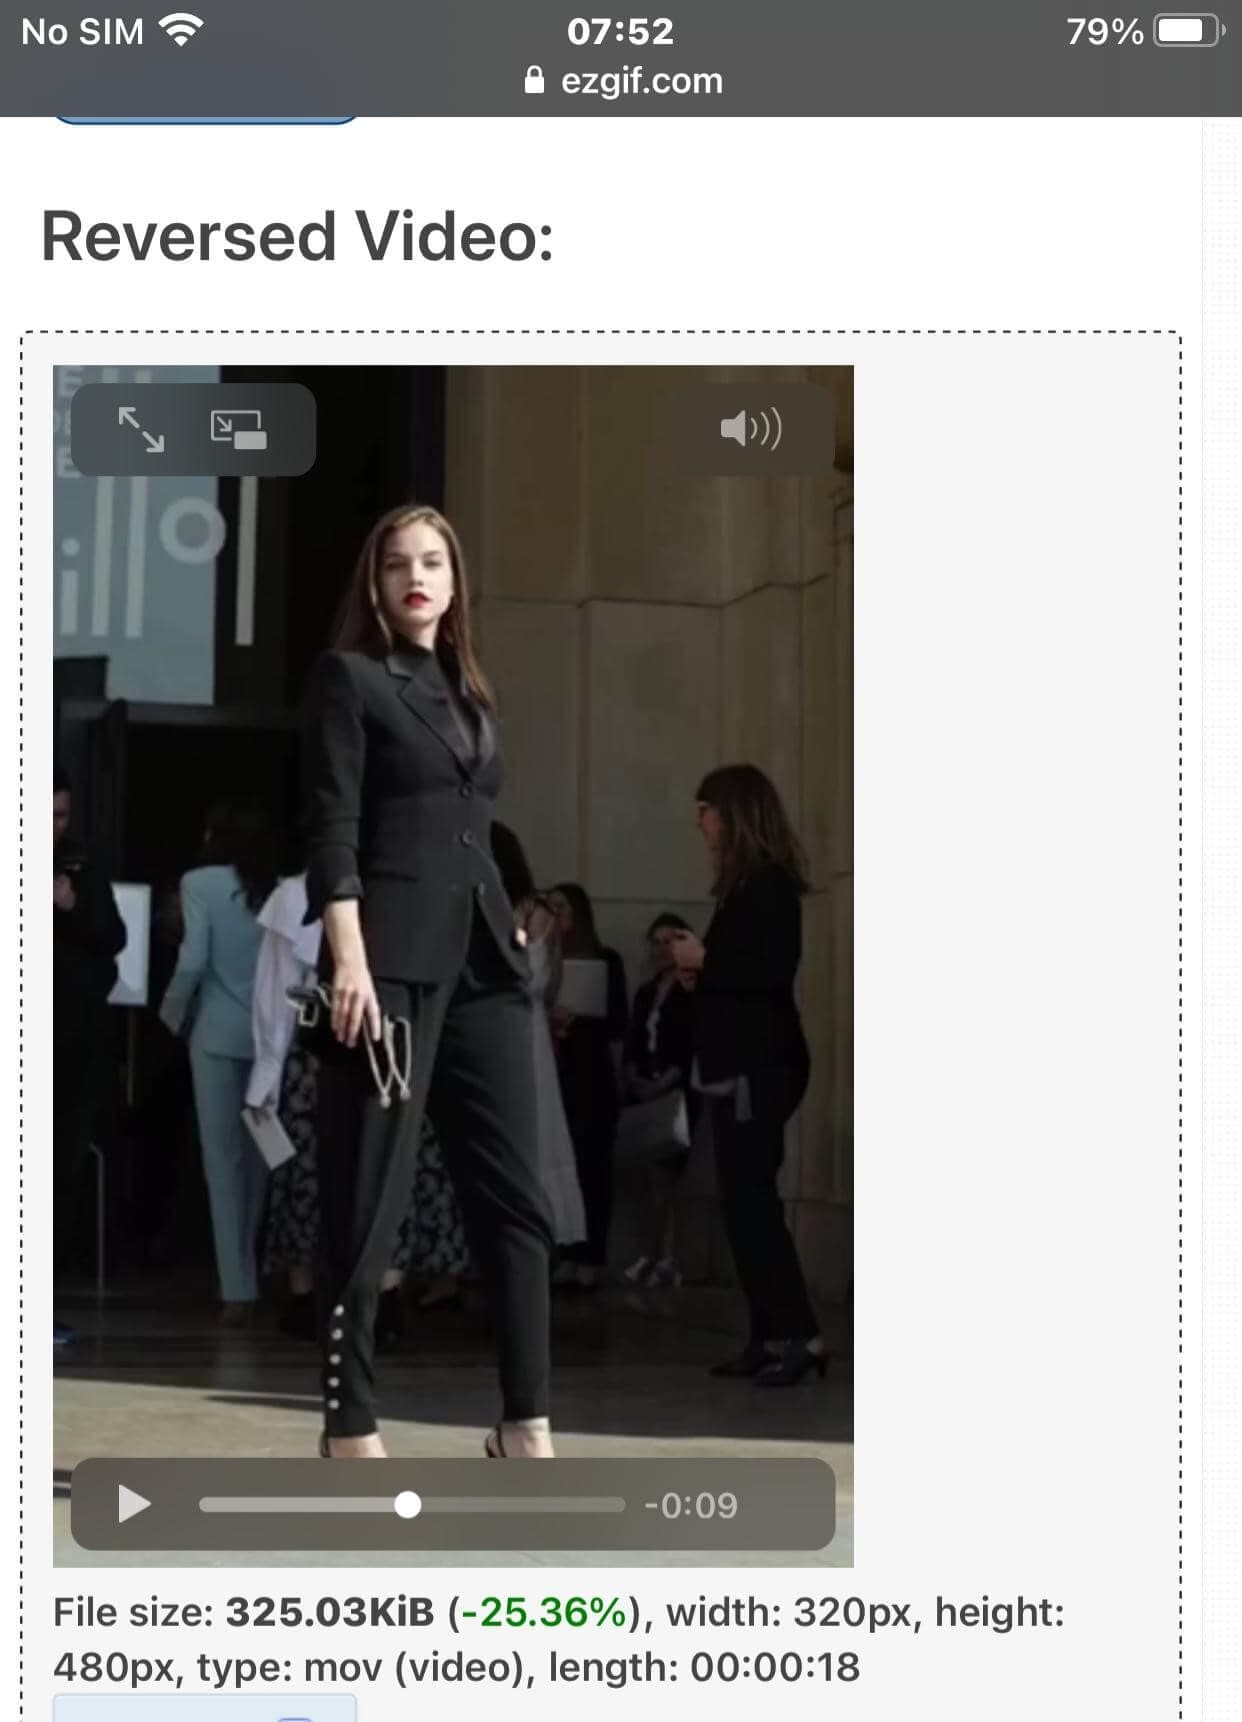
Step 6: The video will automatically take your video to a new interface during which it has been reversed.
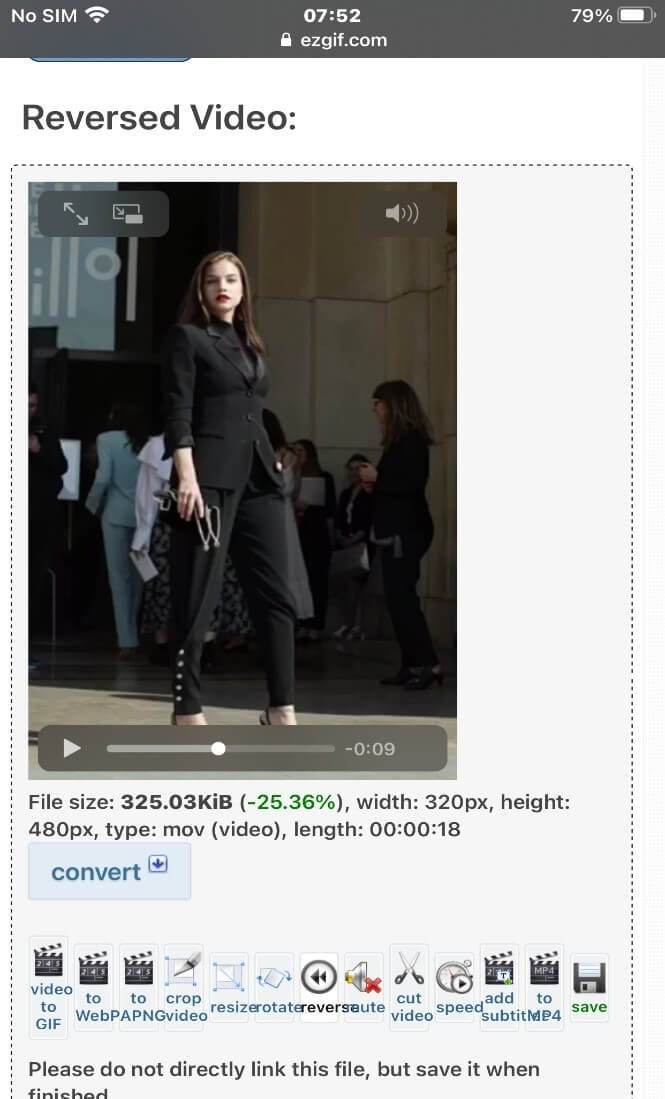
Step 7: After the video is reversed, tap on the “save” option to download your video to your media storage automatically.
You may also like: How to trim a specific clip of a video on an iPhone [Two methods]
Conclusion
FilmoraGo keeps you updated with the trendy video challenges like reverse video on iPhone.
The reverse video trend is popular on every social media platform and, there’s no reason for you to be left out if you’ve got a top-notch app like FilmoraGo.
The first feature that makes FilmoraGo powerful is its intuitive timeline. You can easily create and edit your reverse video on your iPhone with little to no stress.
Aside from FilmoraGo being free to download, its advanced functions as free as well to use.
Download FilmoraGo from the App store and hop on the reverse trend.
You may also like: Ultimate Guide: How to Cut and Rearrange Clips on iPhone for Free

