Free Ways to Create a Slideshow on iPhone
Creating a slideshow is an amazing way to share photos and videos of special moments with loved ones. Apple has made this very convenient by providing a program called iMovie that comes pre-installed with Apple products such as the Mac and iPhone.
The program provides a simple yet efficient way to create slideshows using only your iPhone. The article below will show you the specific steps of creating a slideshow on an iPhone.
- The Most Convenient way: Create A Slideshow On Your iPhone Using The IMovie.
- Add More Effects To The Slideshow On FilmoraGo
1. The Most Convenient way: Create a Slideshow on Your iPhone using the iMovie.
Step 1. Open the iMovie app on your iPhone
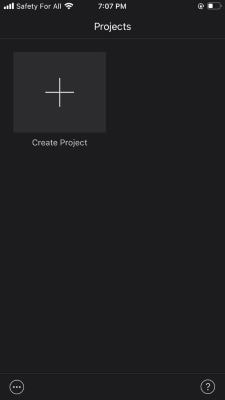
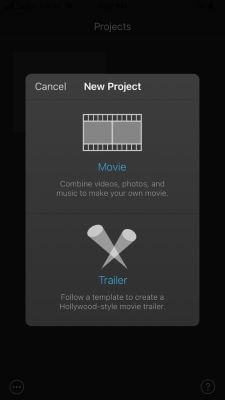
Click the Create project button at the top left corner of the screen then click the Movie button.
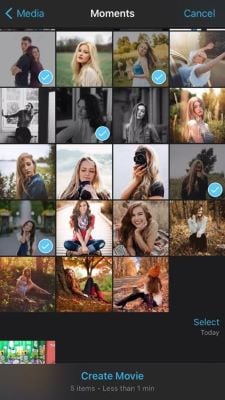
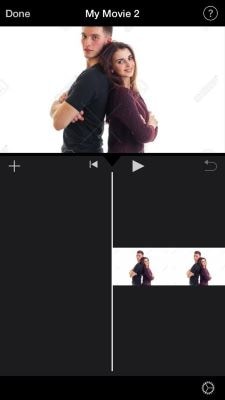
Your moments automatically pop up showing your most recent pictures. You can select the pictures you would like to add to your slide show from here or click the Media button.
The media button shows you your files arranged in albums which may make it easier for you to navigate and choose your preferred pictures.
Step 2. Now on the My Media tab, choose the picture, video, or music file you would like to use to create your movie, then click on the Create Movie button at the bottom of the screen to move your picture, video, and music files to the iMovie timeline.
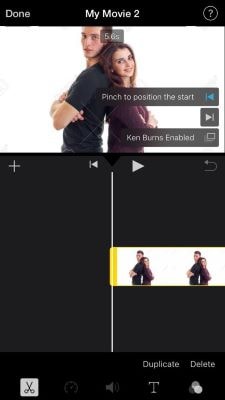
Step 3. After selecting and importing media files, they will have to be placed on the timeline to be properly refined for the slideshow. To edit a picture make sure the picture you would like to edit has been selected and is showing on the preview window.
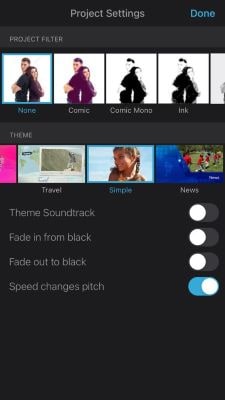
Click on the settings tool at the bottom right corner of the screen and begin to edit the picture. IMovie has a limited selection of filters and themes that can be used to marginally enhance pictures and videos.
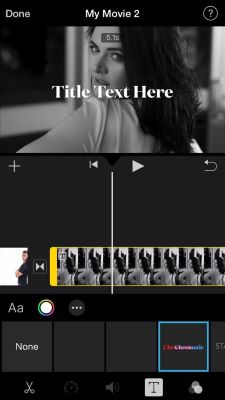
Step 4. Adding titles and texts: There are different text templates available on iMovie. Titles and texts can be added at different stages of the slideshow, preferably at the beginning or end of the slideshow.
Choose one by clicking anywhere on the timeline, a bar with icons representing different functions appears on the bottom part of the screen.
Select the text tool (shaped like a letter T) and then choose your preferred text format then input your personalized text in the preview window.
Step 5. Preview and Share your video: At this point, the slide show is ready to be reviewed and checked for any errors. If you are satisfied with your work, you can go ahead to save, export, or share with family and friends.
2. Add More Effects to the Slideshow on FilmoraGo
FilmoraGo is another application that can also be used to create slideshows on your iPhone. It offers a wider range of features that add more creativity to your slideshow.
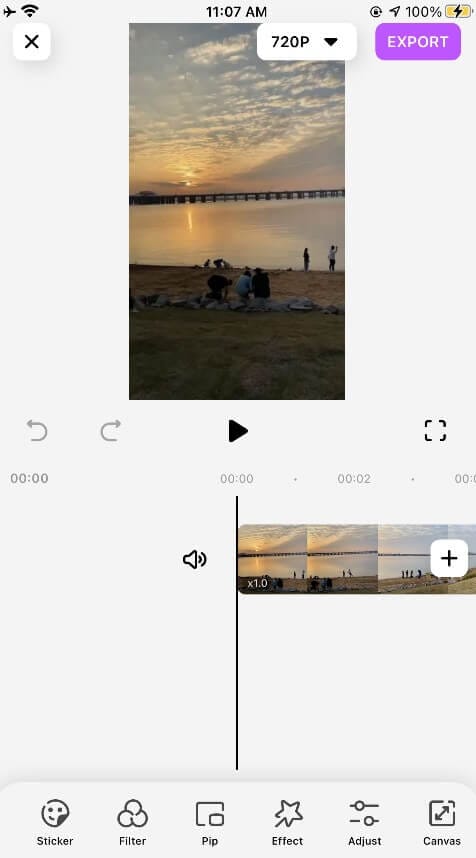
Step 1. Launch the app from your home screen.
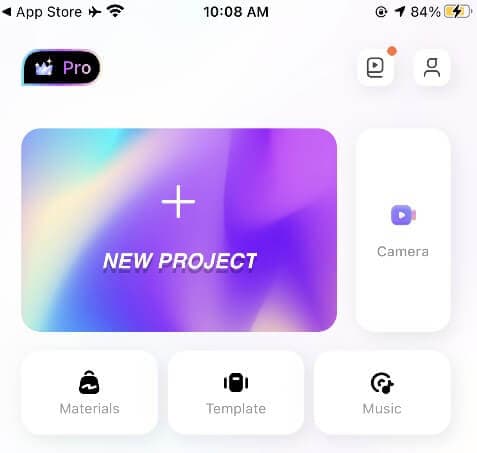
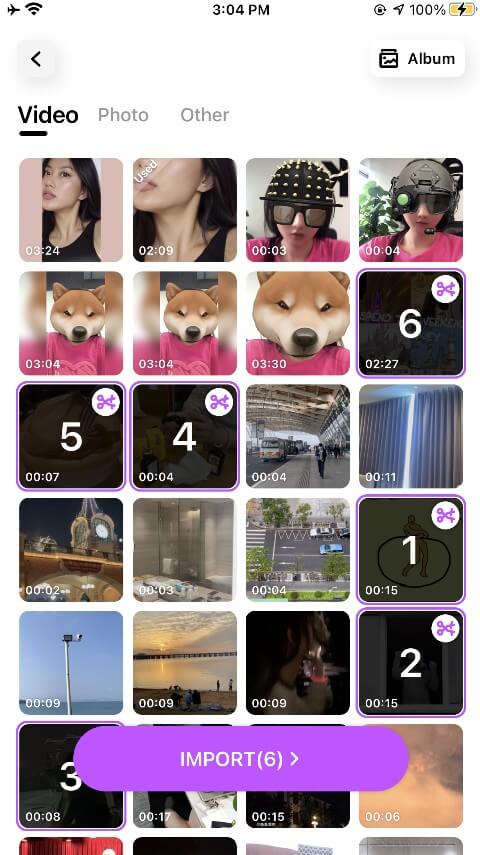
Click on the New Project button at the bottom of the screen and select the pictures and/or videos you would like to include in the slideshow preferably in the order you would like them to appear, A video can be trimmed before adding it to the timeline by clicking on the scissors icon at the top right corner of the video thumbnail.
Step 2. After selecting the files, click the Import button at the bottom of the screen to import the pictures to the timeline.
On the timeline, the pictures and videos can be edited using the various tools located at the bottom of the screen.
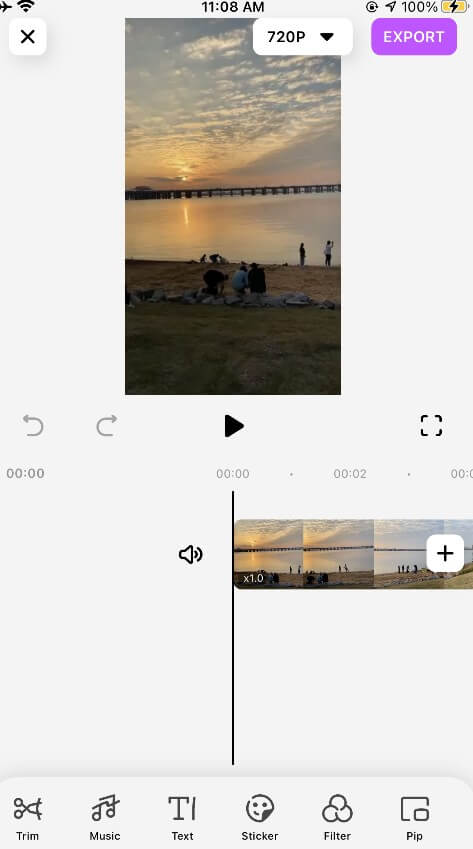
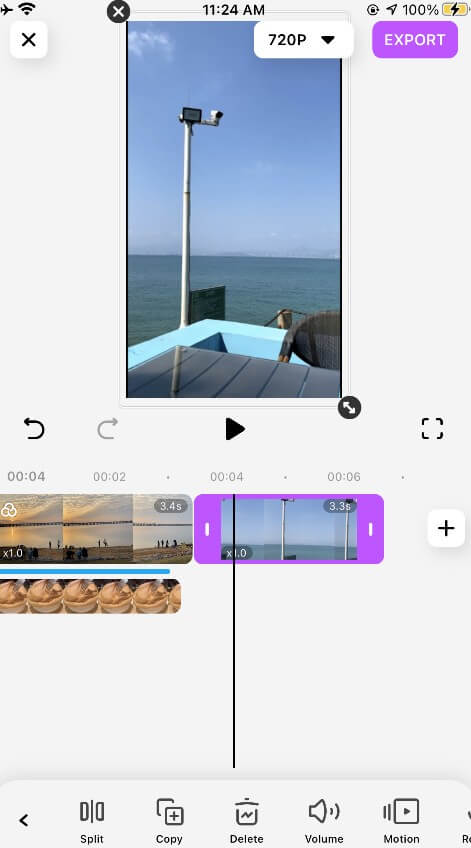
Step 3. If a video is too long or you would only like selected parts to be included in your slideshow, you can always trim it. The trim tool is located at the bottom of the screen.
The trim tool comes with options that allow you to mute the sound of a video, increase the speed and add transitions between videos and/or pictures.
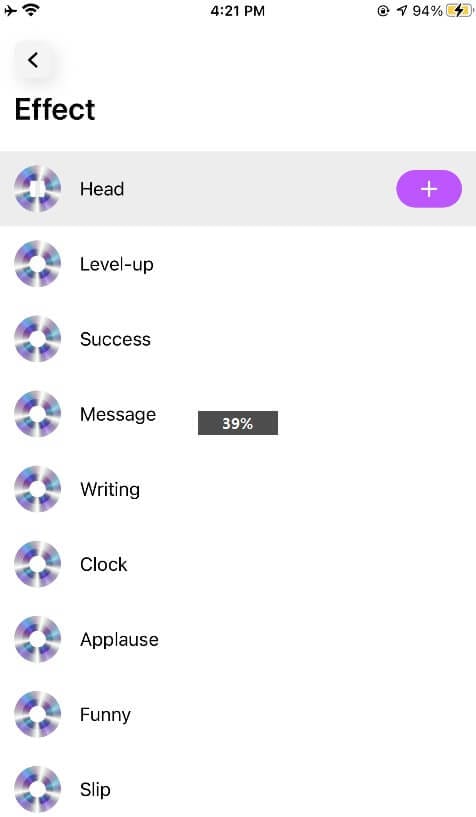
Step 4. Another fun way to add an edge to your slideshow is to add background music. Filmora also has fun sound effects such as broken screens, and glitches. You can access these by clicking on the music button at the bottom of the screen
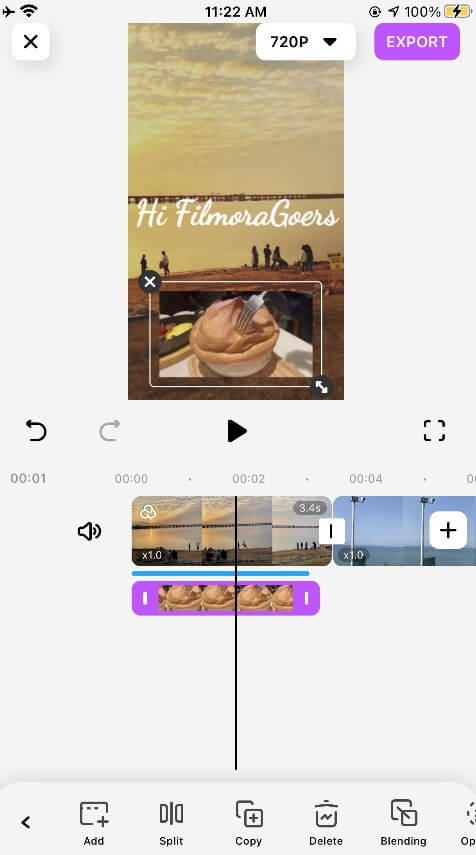
Step 5. one of the features that give filmoraGo an edge over other applications is the pip tool.
It is used to allow other images or videos to pop up as your slideshow is playing.
That way pictures or videos can be presented as a collage.
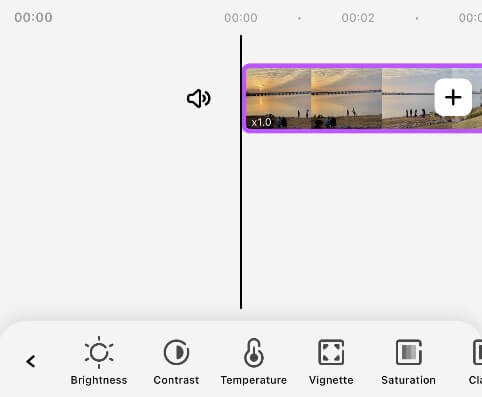
Step 6. Another distinct feature of this app is the settings option. Here you can adjust the brightness, contrast, and exposure of videos and pictures for the best quality.
Step 7. After editing your video, ensure to preview it to correct any mistakes. Click on the export button at the top right corner of the screen and your video will be successfully saved on your device.

FilmoraGo features a wider range of editing tools that improve the quality of its slideshows. If you would like a more professional outcome it is recommended you use this application to create your slideshows.
every beautiful moment in life.
Install FilmoraGo Now!


