Ultimate Guide of Video basic color correction on FilmoraGo
A video isn’t a video without being in need of editing and one prominent editing function is the video basic color correction on FilmoraGo.
It is rare or quite impossible to make a video and not edit it.
Every video goes through tireless, perfect editing to earn its likes, repost, subscribers, and other fan-like gestures.
An important aspect of a video is its color.
A color effect gives a video a mood-like vibe.
Ever seen those movies with a dull yellow contrasting color? This color actually taps into the brain of a human, releasing a hormone responsible for our moods known as serotonin.
These color correction effects work along with our moods.
A blue-ish color effect gives off the vibe of a warm environment which releases a pleasant feeling inside of us.
A movie with good graphics and lighting has more viewers than one with a poor color effect.
The same applies to videos as well.
We recommend the following steps to video basic color correction using the FilmoraGo app.
Steps to video basic color correction on FilmoraGo.
FilmoraGo is an easy-to-use video editing popularly known for its powerful editing tools and advanced features.
It is the first iOS editor with a dual camera function to record and edit your videos from scratch.
You can easily use FilmoraGo's camera function with creative effects to make your video before color adjusting it.
FilmoraGo is a top-notch video editor with monthly upgrades for you to explore more ways to get creative.
One of FilmoraGo's expertise is its color adjustments, easy to implement for your videos, there’s no reason why you shouldn’t be a FilmoraGo user.
Video basic color correction on FilmoraGo transforms your video with a film-like effect.
To correct your video color on FilmoraGo:
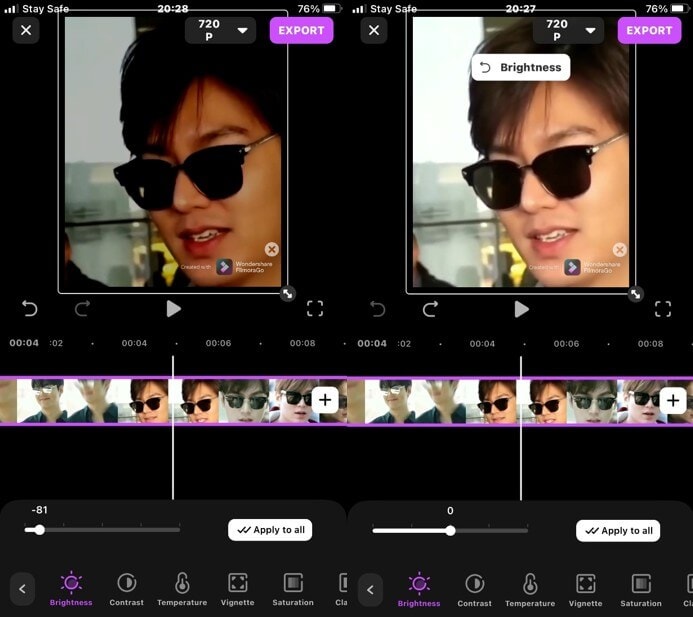
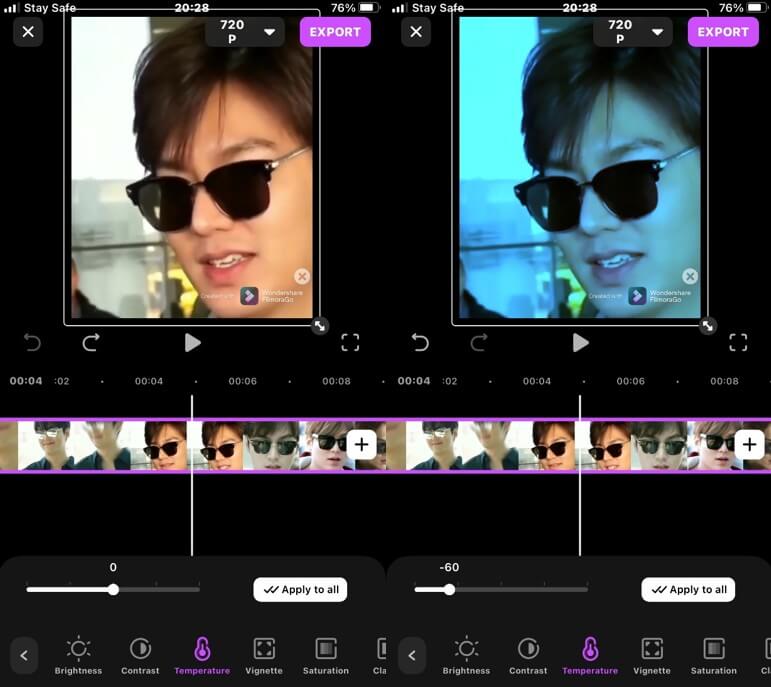
Note that the images are in a “before and after position”
The image on the left shows the video before color correcting while the video on the right shows after video color correcting.
Step 1: Install FilmoraGo from the App store.
every beautiful moment in life.
Install FilmoraGo Now!


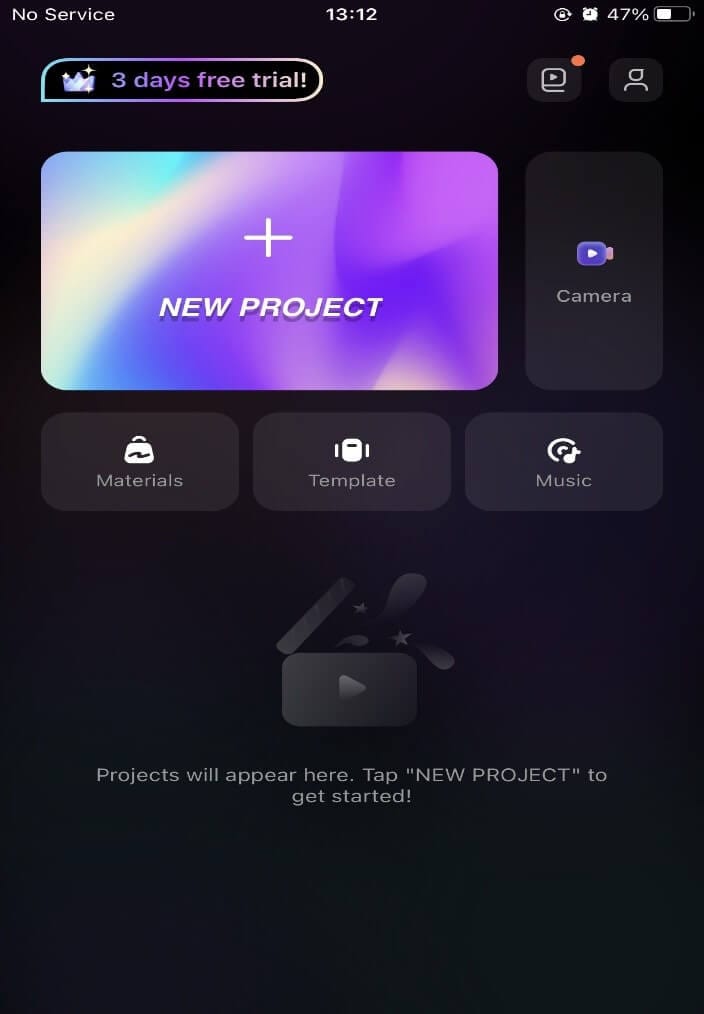
Step 2: Hit on “new project” to start editing.
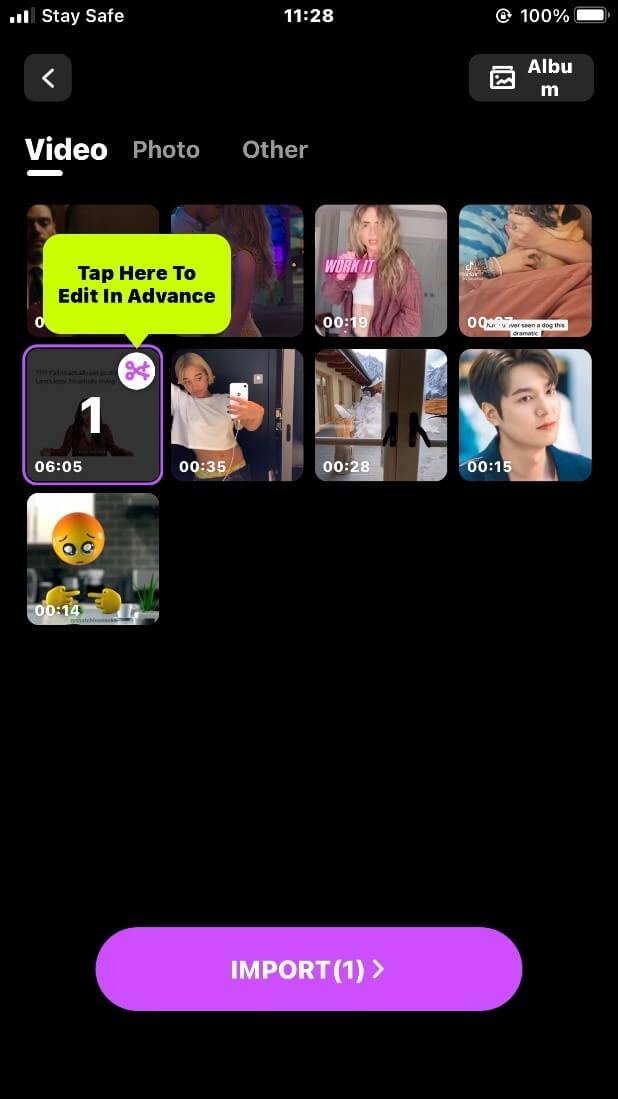
Step 3: Select your desired video and import it to the timeline
Step 4: Scroll back to the “adjust” button.
![]()
Step 5: Tap on the “brightness” button and drag the line to adjust the brightness.
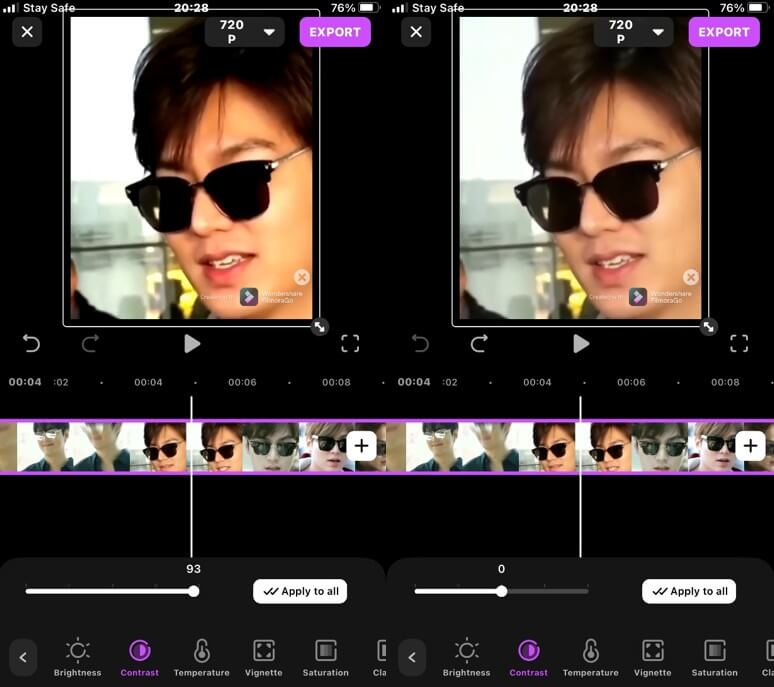
Step 6: Tap on the “contrast” button to adjust the color of the video to a vivid look or a mild look.
Step 7: Tap on the “temperature” button for color correction of the video.
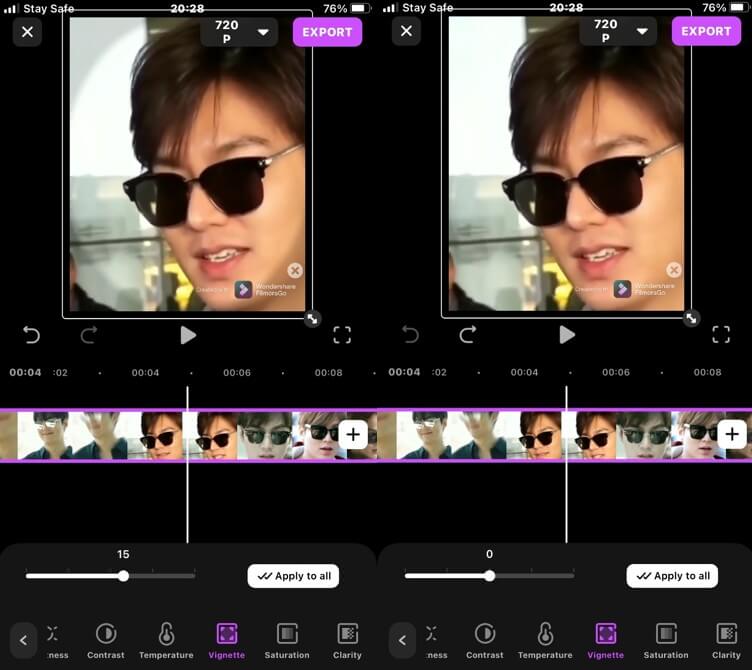
Step 8: Tap on the vignette to increase or decrease the color of the video sides.
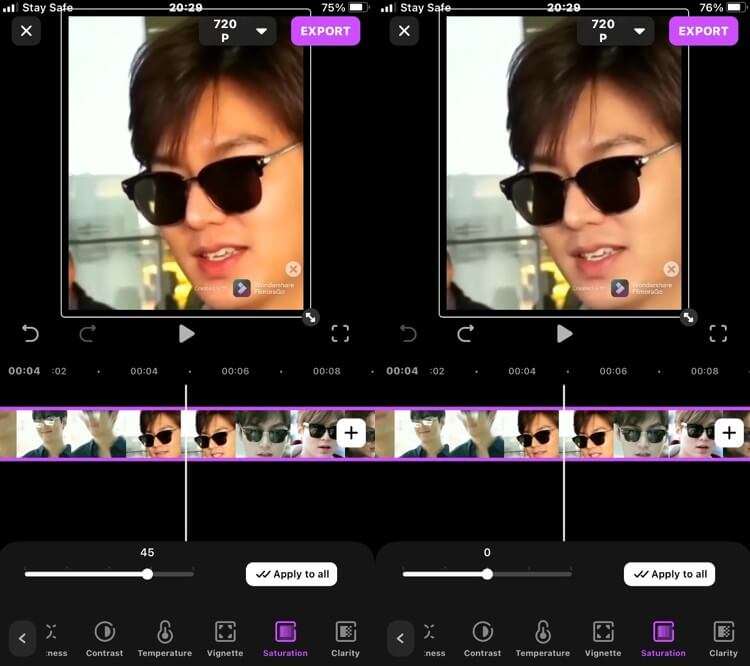
Step 9: Tap on the “saturation” button to adjust the saturation color of your video.
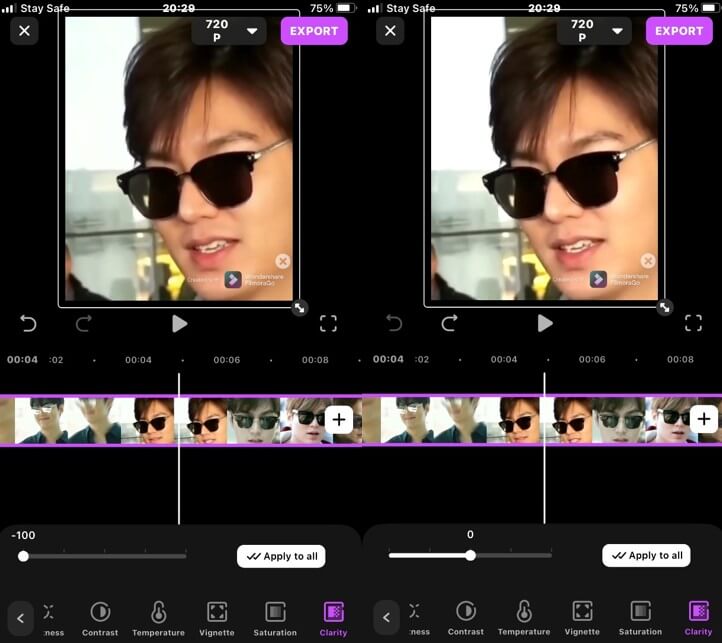
Step 10: Tap on the “clarity” color effect to adjust the clarity of the video color to a more vivid or subdued look.
Step 11: If satisfied with the turn-out of the video, export and share your video.
Conclusion
Video basic color correction on FilmoraGo is an easy peasy job.
FilmoraGo has an intuitive timeline which makes video editing convenient, simple, and fast.
Aside from color corrections on FilmoraGo, you can explore more creative ways to make a stunning video using its aesthetic filters, trendy effects, animated stickers, thousands of royalty-free music, and tons more.
FilmoraGo gives you the appropriate proportion of its editing tools and features with its intuitive timeline in case you are new to the video editing world.
All you need to do is hop on to the App Store to download FilmoraGo and use its hundreds of free creative tools to be a badass director!
You may also like: How to Make a Short Film for Beginners on iPhone

