How to Make a Vlog on FilmoraGo
A vlog or video log has become one of the most powerful ways of self-expression in the 21st century.
It is lucrative as well. Many vloggers have attained celebrity status and made truckloads of money sharing their opinions, lifestyles, travel exploits, or DIY tutorials through vlogs.
So it is only natural for so many people to look for ways to make vlogs in the easiest possible way.
![]()
Well, the good news is, you don’t need a half-million-dollar Hollywood camera for making an awesome vlog. All you need is an iPhone and a good video editing app like FilmoraGo.
Simply download this easy to use, yet powerful editing app and you are ready to make your vlog. Let’s understand the process step by step
Now the most basic thing to make your vlog on FilmoraGo is the video itself.
Your iPhone has an inbuilt camera app and if you want some professional controls there are some pro apps to capture the video. But you will be surprised to know that you can actually use FilmoraGo to capture a video directly through your phone camera. So let's get into it straight to see the process.
The specific steps of making a Vlog in FilmoraGo
- Steps of Recording Video
- Steps of Trim the Video you Recorded
- Steps of Change the Speed or Reverse Video
- Steps of Add Subtitles for the Vlog You Made
- Steps of Add Music/Record Audio for Your Vlog
1. Steps of Recording Video on FilmoraGo
You can actually capture a video for your vlog directly through the FilmoraGo app.
every beautiful moment in life.
Install FilmoraGo Now!


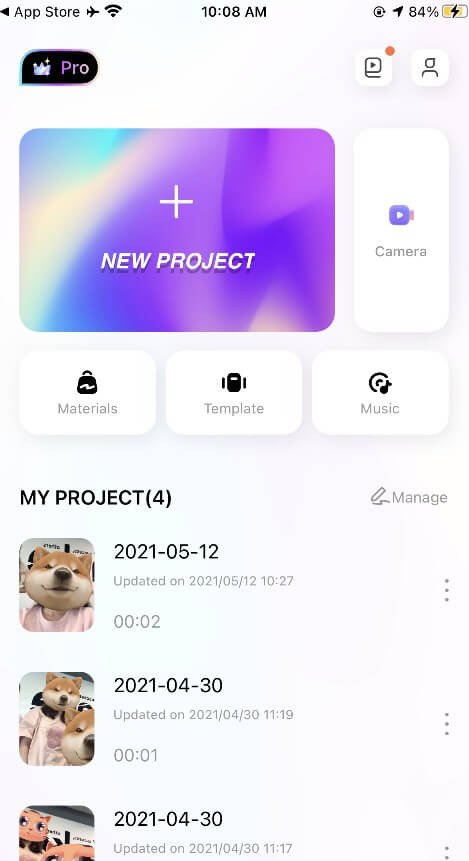
Step1. Launch the FilmoraGo app on your iPhone.

Step2. Press the 'Camera' button on the bottom left, then click "OK" when FilmoraGo asks for access to the camera.
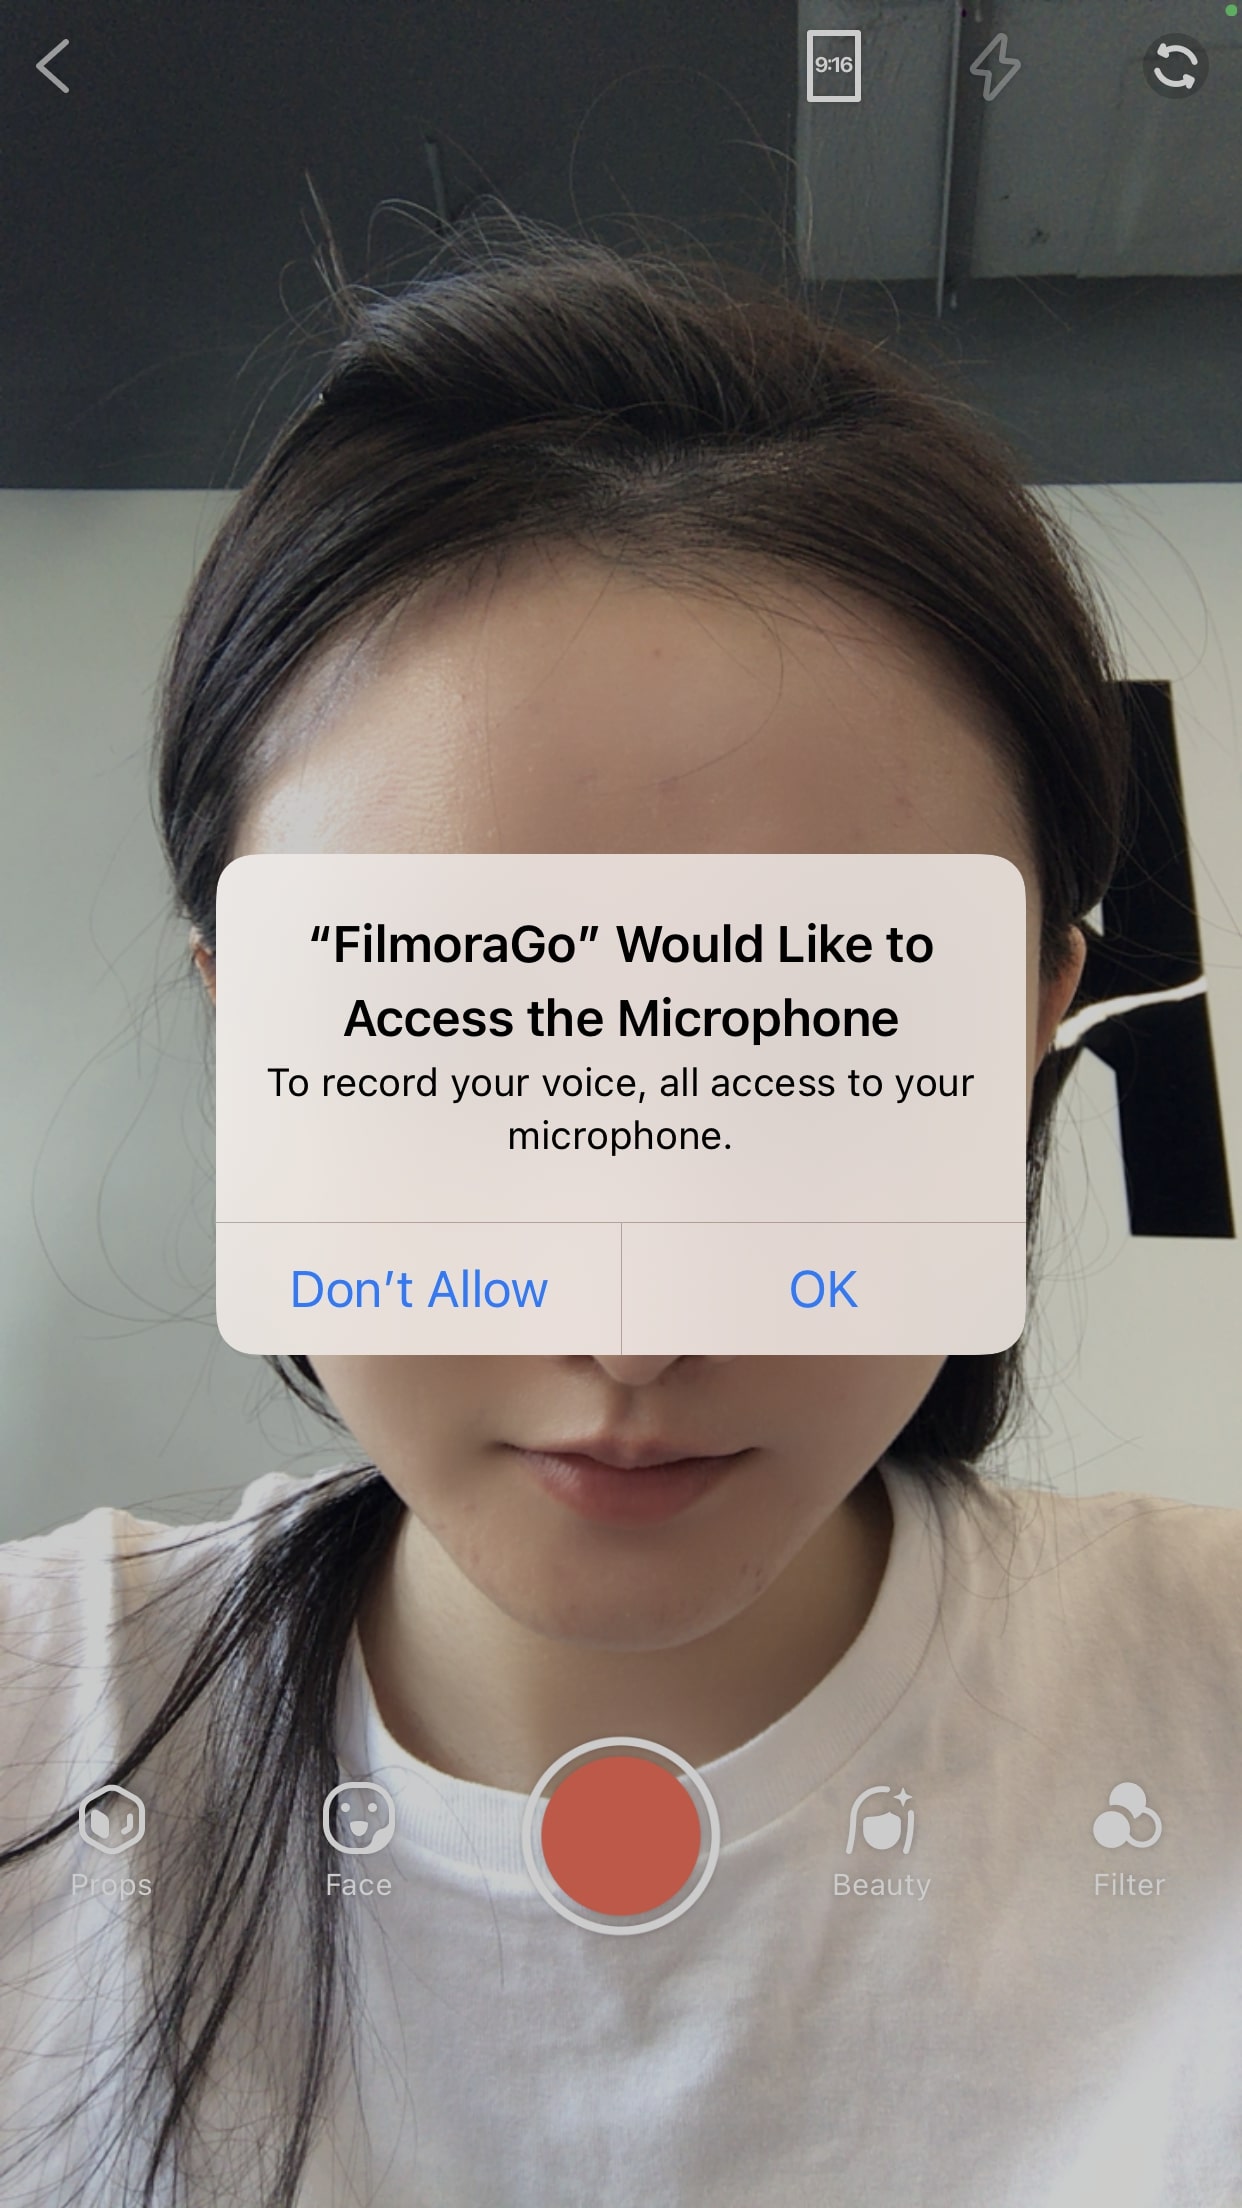
Step3. Allow FilmoraGO to access the microphone and start to record the video
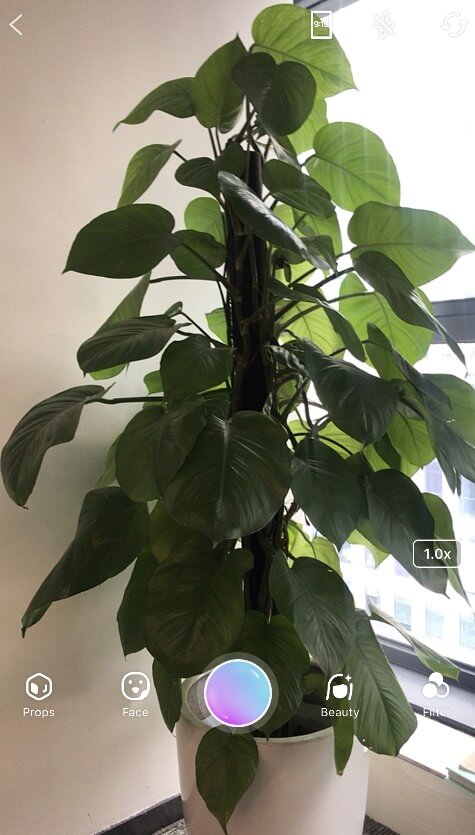
Step4. When you finish shooting (click the red button twice to complete a shooting), FilmoraGO will automatically save the captured video to the bottom left.
If you are not satisfied with the captured video, you can click on the lower-left corner to preview and delete the video, and re-shoot the satisfactory clip.
Step5. FilmoraGo will import it automatically and create a new project in which you’ll see the recently captured video in the video track.
You can record more videos or import from existing videos in your phone gallery by pressing the '+' button on the right side of your main video track.
Once you have all the video and still picture clips you need, you can arrange them in the desired order by pressing and dragging. This gives you a lineup to start the editing.
2. Steps of Trim the Video you Recorded on FilmoraGo
Let's start the process of editing by understanding some basic action. This is used to cut out unnecessary parts from a clip.
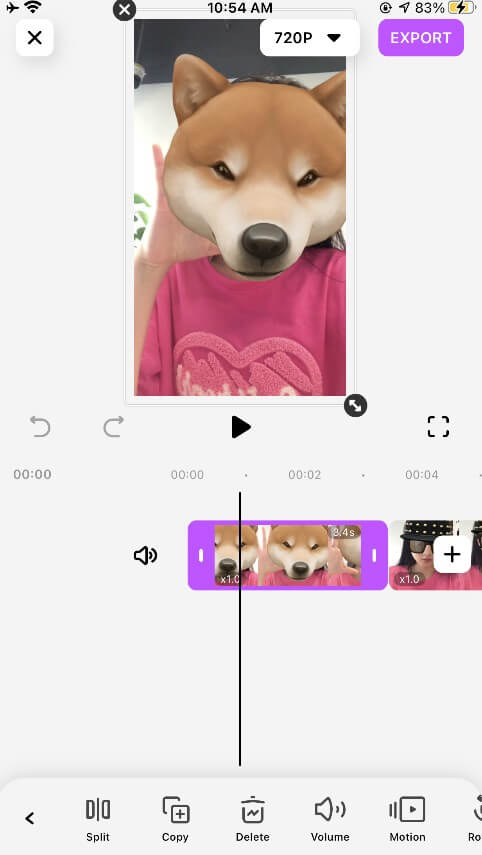
Step1. On the bottom toolbar, the leftmost icon is 'Trim'.
![]()
Step2. Just slide the clip to bring the play head to the point you want to trim. Press trim.
Step3. On doing this, a second toolbar will appear which will have buttons for split, copy, delete, etc.
Step4. Press the split button and that will split at that point.
Step5. Select the part you want to remove and press delete.
An easier way to trim is by simply dragging the ends. On pressing the clip, a thick red border appears on it with two handles on either side. Press any of the handles and drag it into the point of trimming.
3. Steps of Change the Speed and Reverse Video on FilmoraGo
You can speed up or speed down your video with the same process.
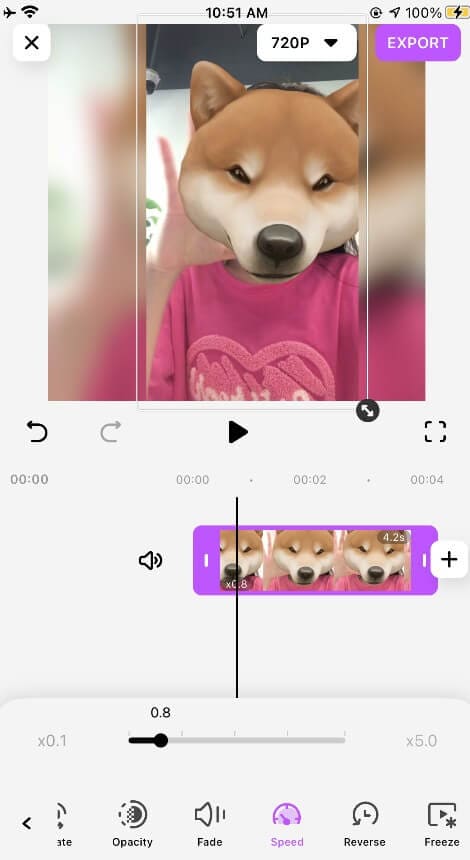
Step1. Select the clip and tap the speed button.
Step2. A slider will appear.
Step3. You can slide the handle to choose a speed from 0.1 times to 5 times.
Step4. Once done, press the left arrow at the bottom left to make the slider disappear.
Step5. Your video clip has now expanded or shrunk depending on the speed you have chosen.
Step6. If you want to reverse it, the icon for it is right below the slider.
4. Steps of Add Subtitles for the Vlog You Made
Let's get to the next level and import more videos with the help of the plus button on the right. Now you can jazz up things by adding text.
For example, if you want to add subtitles tap the Text icon at the bottom strip and the text toolbar will appear.
![]()
Step1.Press the T icon to pop up the keypad.
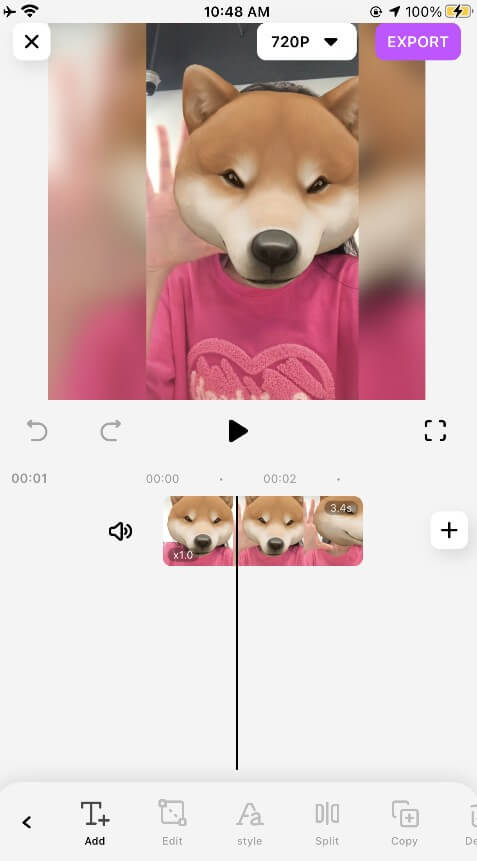
Step2.Start typing and the text appears on the video frame.
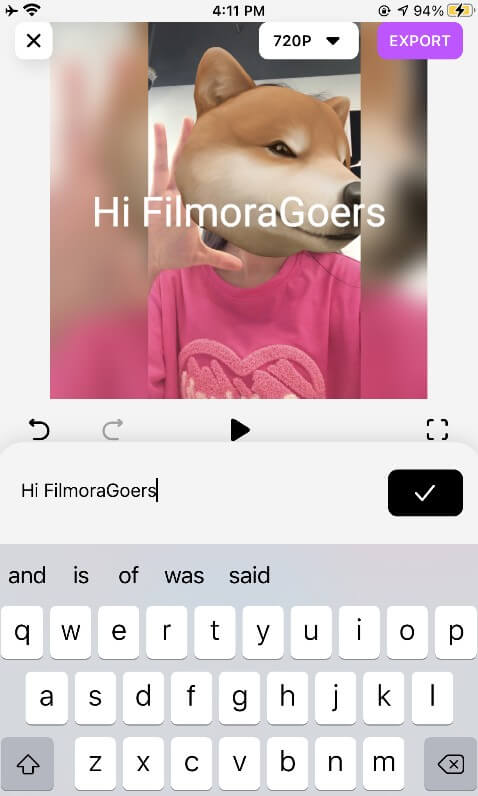
Step3.You can drag it to the desired position.

Step4.Once done, press the checkmark in red.
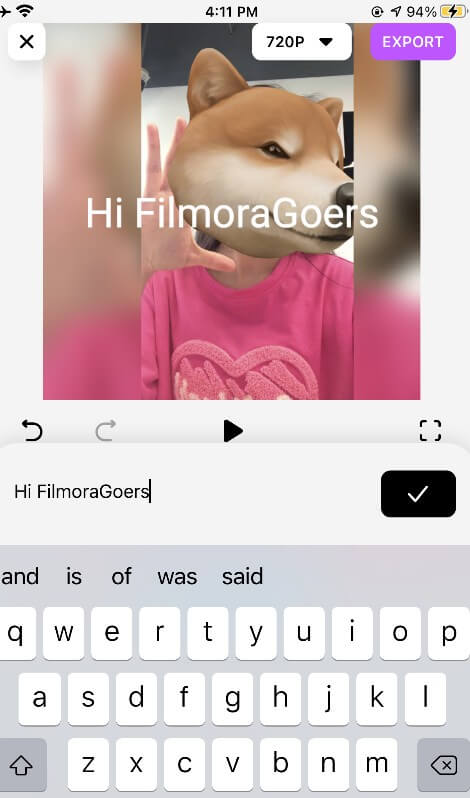
Step5.A text track is created below the video track.
You can drag it, expand it or trim it to synch it with the video. You can also change the alignment, color, font, etc of the text by tapping the style icon.
The other icons let you rotate them, prolong them, etc.
5. Steps of Add Music/Record Audio for Your Vlog
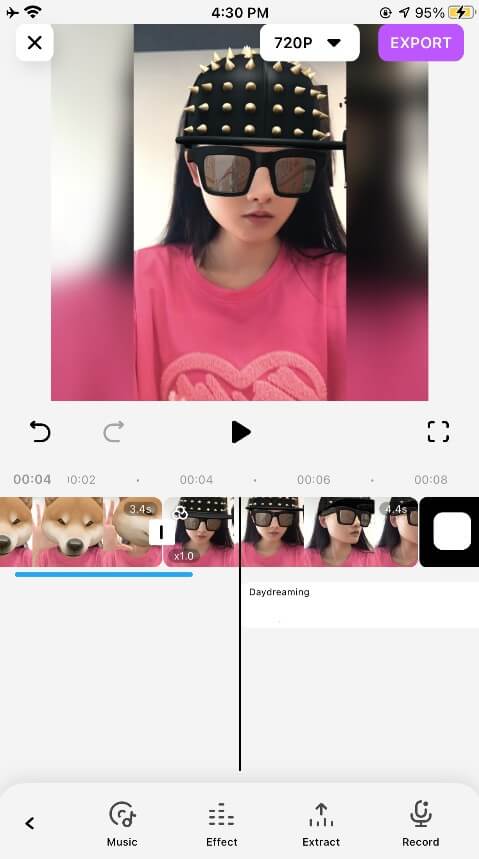
No video is complete without music. And it is very easy to add music in your vlog made on FilmoraGo.
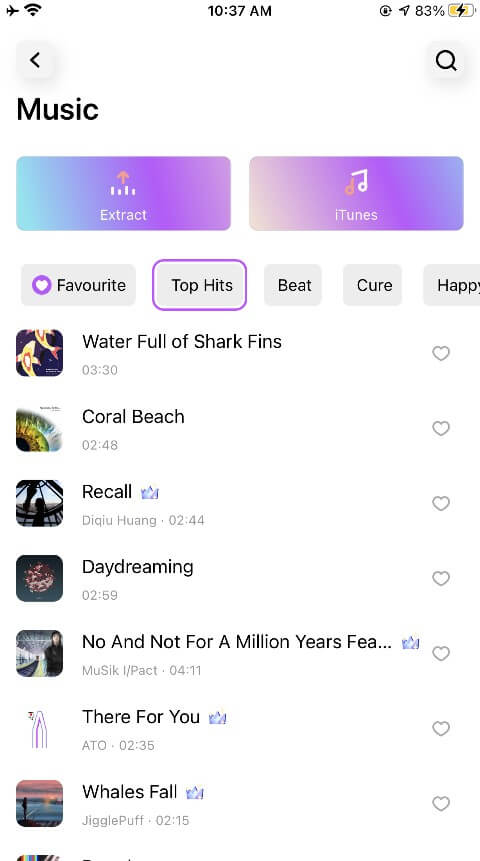
Filmora has some pre-installed music and effects which you can get by pressing the music icon Then press the plus button present beside the music file you want.
You also have the option to get music from iTunes. Once you select your file/files, it is seen in the newly created music track below the video.
You can now play around with that file by using fade, speed, volume, etc controls. You can also extract music from video clips in the gallery.
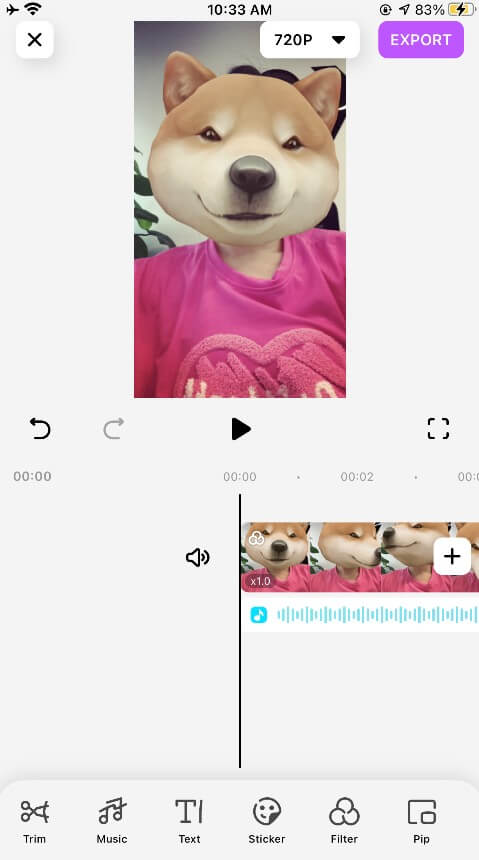
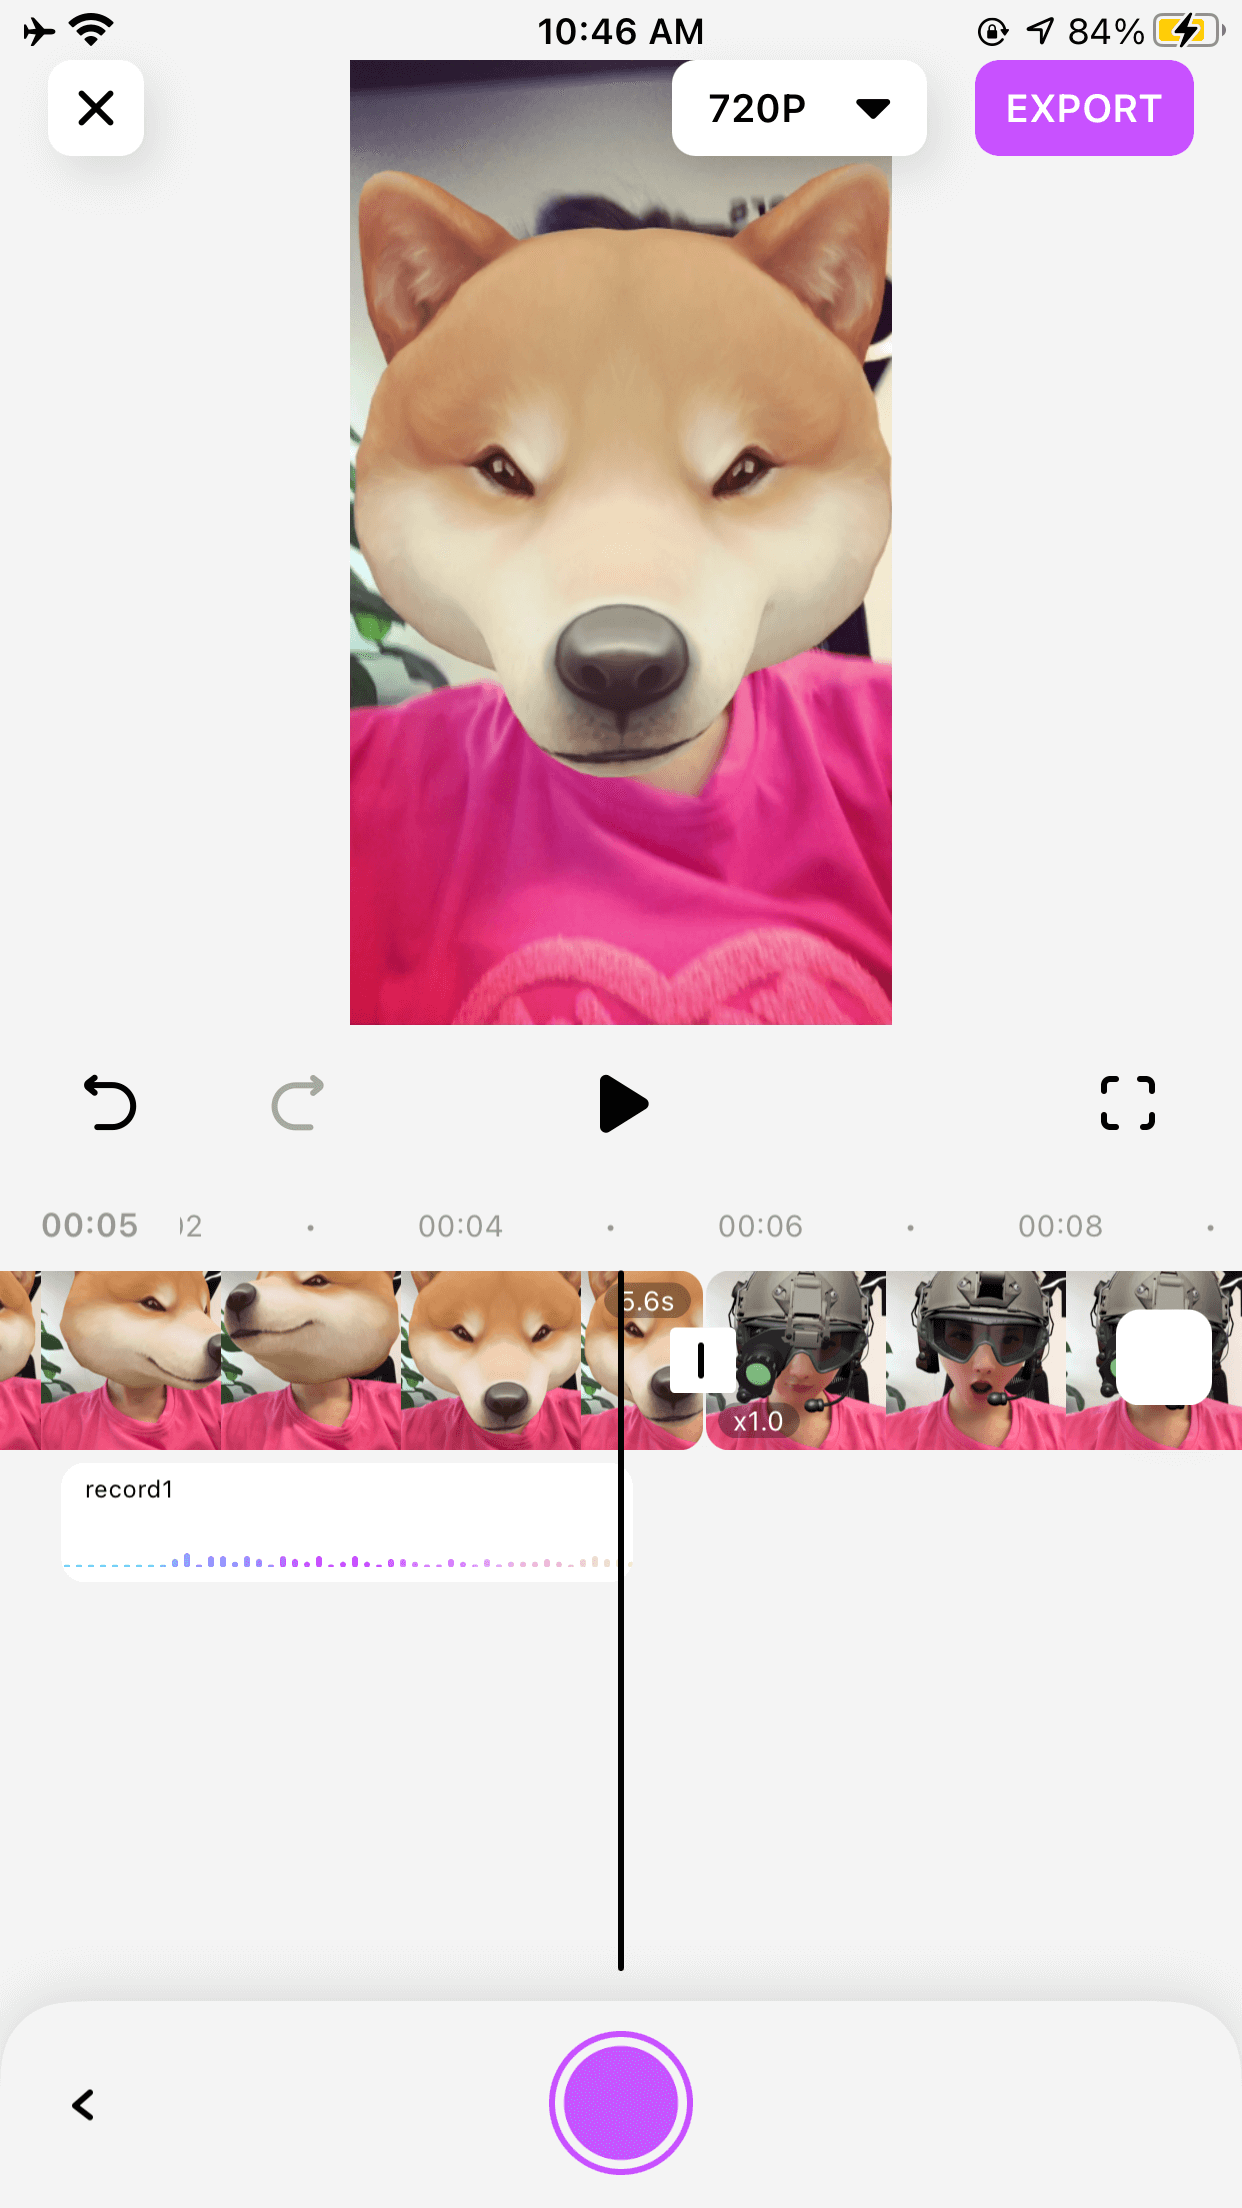
Finally, you can also record your voice-over for your vlog. Place the play head to the position where you need a voiceover, and then click the microphone icon.
![]()
You can record directly or through an external mic. This voice will be saved in real-time in a separate audio track. Once recorded, you can synch the voice-over with the video clip by simply dragging, splitting, and trimming.
Once finished, press the export button on the top right and your vlog made on FilmoraGo will be rendered and saved. You can now upload it on youtube and impress your audience with your videography skills.
Final word
I am sure now nothing can hold you from making a viral vlog. You must have noticed what a cakewalk it is to make a vlog on FilmoraGo on iOS. The video editing app is especially good for beginners who don’t want to be overwhelmed by loads of features and a complicated interface.
You can start with the free version of FilmoraGo and once you have practiced enough vlogs, you can go for the premium version to unlock more powerful features. Happy Vlogging.
every beautiful moment in life.
Install FilmoraGo Now!
You May Also Like: Vlogger Kits - What Equipment Do Most Vloggers Need?

