How to Edit Video in iMovie on iPhone
iMovie is an application for video editing that comes pre-installed in apple products like The iPhone and Mac. If you do not have the app pre-installed on your phone you can always download it for free from the AppStore.
- Part1. Seven Steps to Edit Video in iMovie on iPhone
- Part2. FilmoraGo: an App with more Features than iMovie
Part1. Seven Steps to Edit Video in iMovie on iPhone
Follow these easy steps to start editing your videos like a pro:
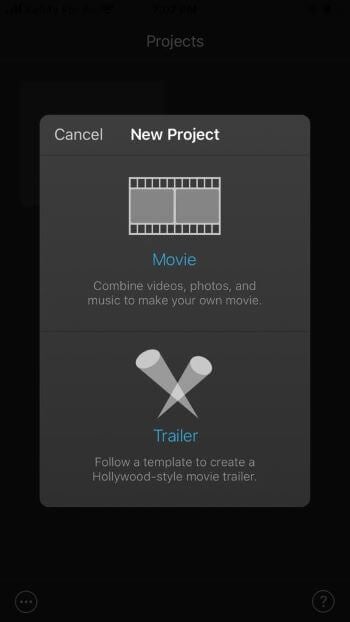
Step 1: Open the iMovie app
Click on the Create Project button select Movie.

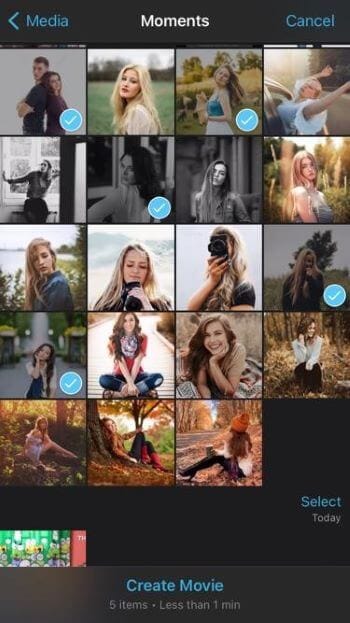
A page showing your recent pictures will be shown to you, choose your preferred images/videos from here or click on the Media button at the top left corner and browse through your files using albums.
Once you are done selecting. Click Create Movie at the bottom of the screen.
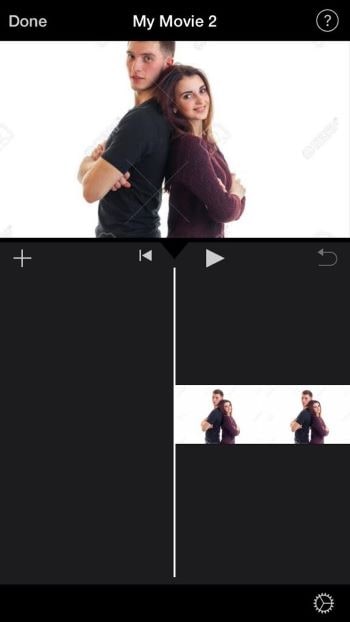
Step 2: Your selected video/videos will appear on the timeline.
To activate the tools required to edit your video click on the video on the timeline and a bunch of tools representing different features will be shown at the bottom.
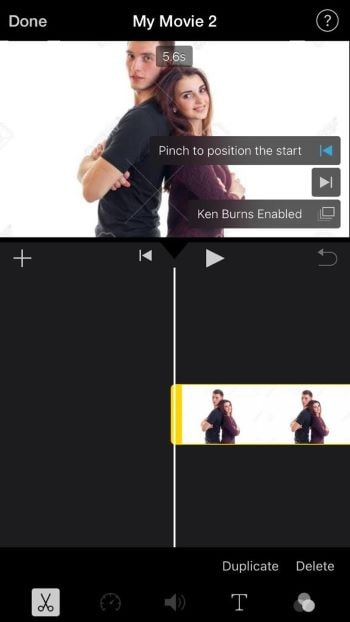
Step 3: The first thing would be to trim your videos.
Use the trim tool at the bottom to cut out unwanted clips from the video. Move the video along the timeline to remove unwanted clips and shorten the video.
Step 4: using the timer tool you can increase the speed of the video, that way you can share more clips within a shorter time period.
You can reduce or increase the speed depending on what you are going for.
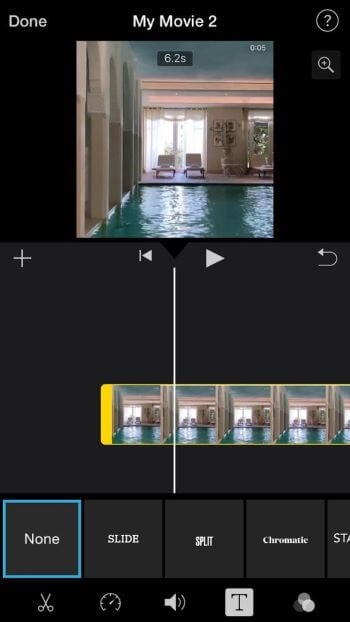
Step 5: you can add transitions between video clips.
The app already adds one for you by default but you also have options to choose from.
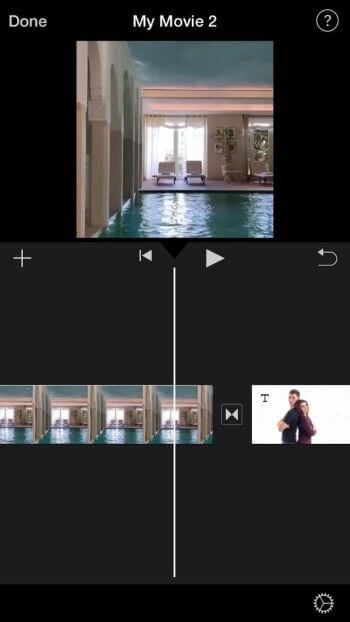
If your video isn’t in segments you might want to split it using the split tool then select the box between each video clip and choose your preferred transition from the bar that appears below.

Step 6:use the music tool at the bottom of the screen to increase or reduce the sound of a video.

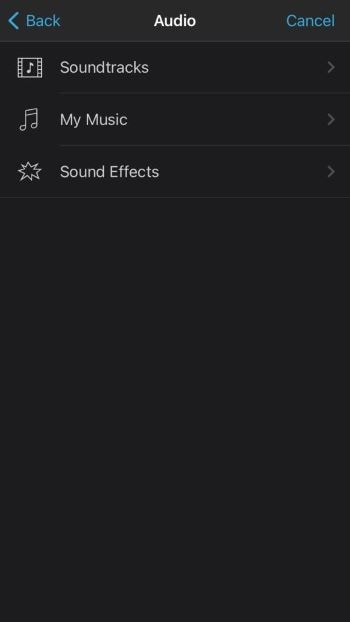
To add music click on the plus sign at the left corner of the screen, select audio then click on soundtracks to choose from iMovie’s wide range of songs.
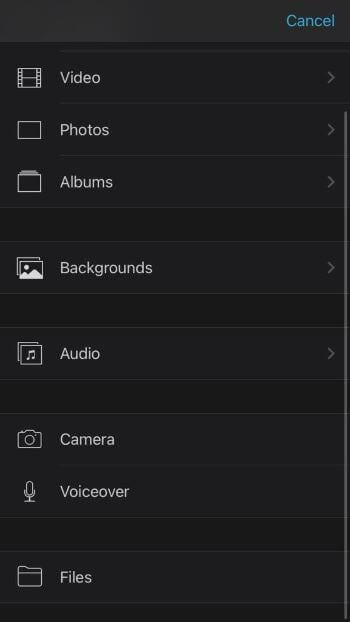
To add a voice over click on the plus sign at the left corner of the screen then select voiceover and proceed to make your recording.
Step 7: there are other features so as the effects and text tool you can always use to add an edge to your videos.
Preview your videos to examine the final result then save and share.

Part2. FilmoraGo: an App with more Features than iMovie
FilmoraGo is an editing app similar to iMovie. They both have some similar features but FilmoraGo allows you to tweak each feature to your unique taste. FilmoraGo is a beginner-friendly app that gives professional results because it makes the features easier to access and simplifies the steps required to make a good quality video.
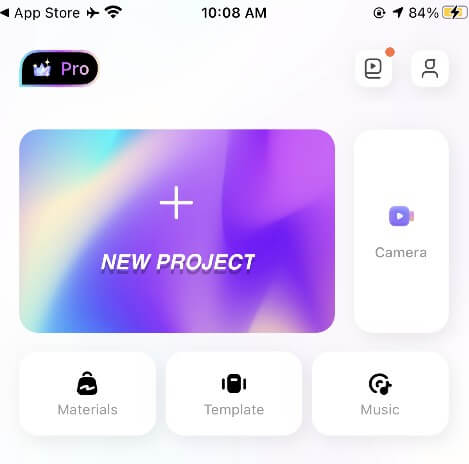
Step 1: Launch the FilmoraGo app from your home screen
every beautiful moment in life.
Install FilmoraGo Now!


Click on the New Project button at the bottom of the screen and select your video.
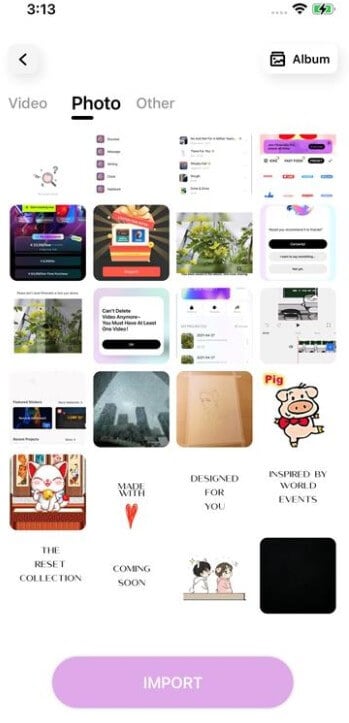
Step 2: After selecting the files, click the Import button at the bottom of the screen to import the pictures to the timeline.
On the timeline, the pictures and videos can be edited using the various tools located at the bottom of the screen.
Step 3: If a video is too long you can always trim it. The trim tool is located at the bottom of the screen.

The trim tool comes with options that allow you to mute the sound of a video, increase the speed and add transitions between videos and/or pictures.

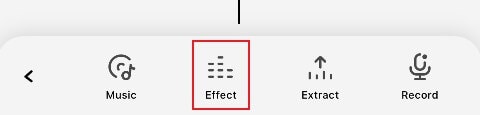
Step 4: Another fun way to add an edge to your slideshow is to add background music.
Filmora also has fun sound effects such as broken screens, and fake glitches. You can access these by clicking on the music button at the bottom of the screen. With this app, you can also extract music from another video and place it in yours.
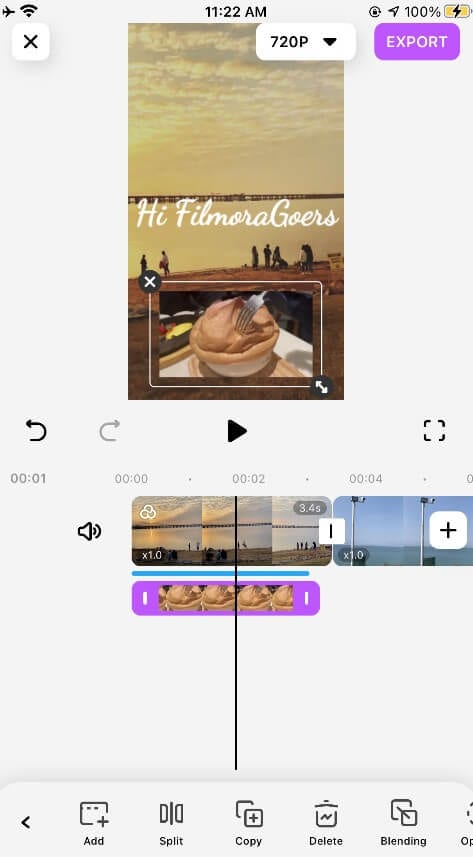
Step 5: one of the features that give filmoraGo an edge over other applications is the pip tool.
The Pip tool lets you overlay two or more videos/pictures meaning that you can insert a video or picture that pops up on a smaller screen and plays simultaneously with the background clip.
There are a bunch of cool filters you can use to make your videos more creative. The effects and filters featured in FilmoraGo give a more realistic effect than that of other apps.
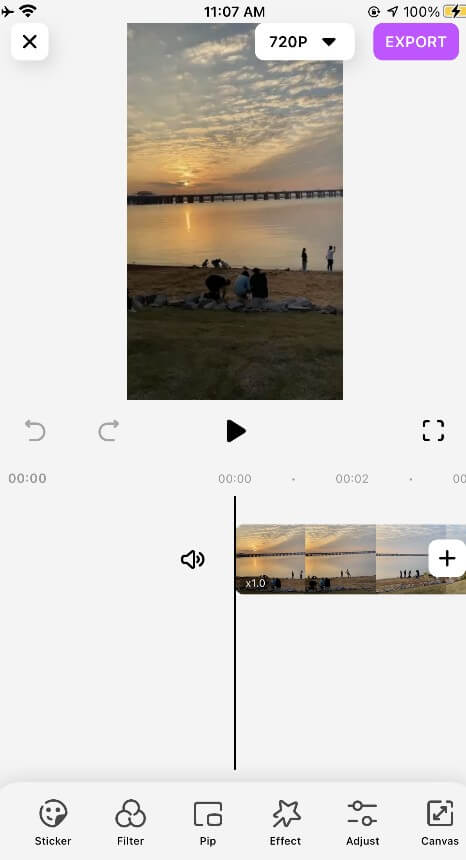
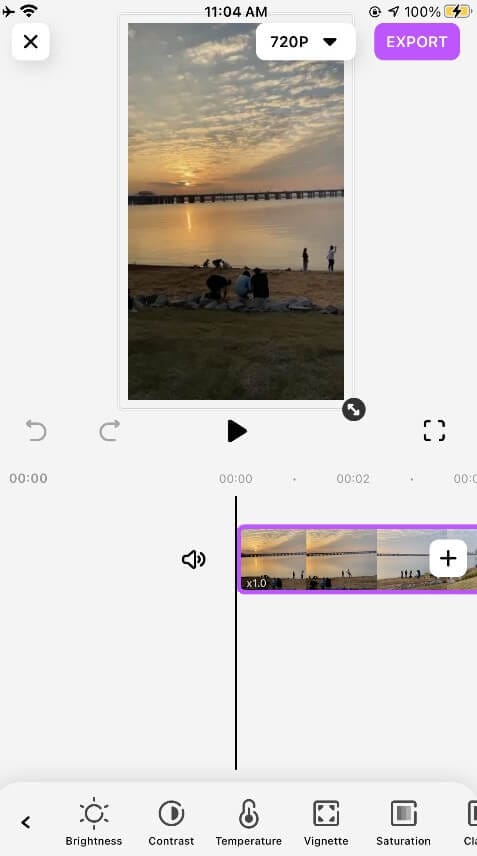
Step 6: Another distinct feature of this app is the settings option.
Sometimes even with really good lighting, the picture quality is not really at its best this is where the settings tool comes in, you can adjust the brightness, contrast, and saturation of the videos for the best quality.
Step 7: After editing your video, ensure to preview it to correct any mistakes.
Click on the export button at the top right corner of the screen and your video will be successfully saved on your device. Now you can share with friends through your preferred social media platforms.