How to Create a MakeUp Video on FilmroaGo
Makeup videos are currently trending on every social media platform.
There’s a lot of content creators that are makeup artists or makeup enthusiast, and they use makeup videos as a medium to put out their content, Such content could even be a source of income.
If it’s your first time making a makeup video, don’t be too scared as FilmoraGo will make the editing process much easier for you, just follow these steps:
1. Make the intro for your makeup video
Of course, you’ll need a really good camera, as a beginner you can always use your phone. You will also need a room with really good natural or artificial lighting.
Once you have all these it’s time to get started with the intro.
The intro is the most important part of the video because it is the first thing your viewers will see you have to make sure to grab their attention.
Try to be yourself and keep it short and simple and you’ve made an amazing intro!
Go ahead and record the rest of your makeup video.
You may also like: Guidance to Make Your Makeup Videos Glossier
2. Import the recorded video
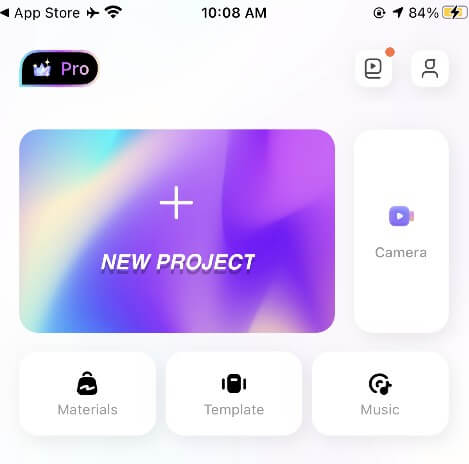
Step1. Launch FilmoraGo from your phone.
every beautiful moment in life.
Install FilmoraGo Now!


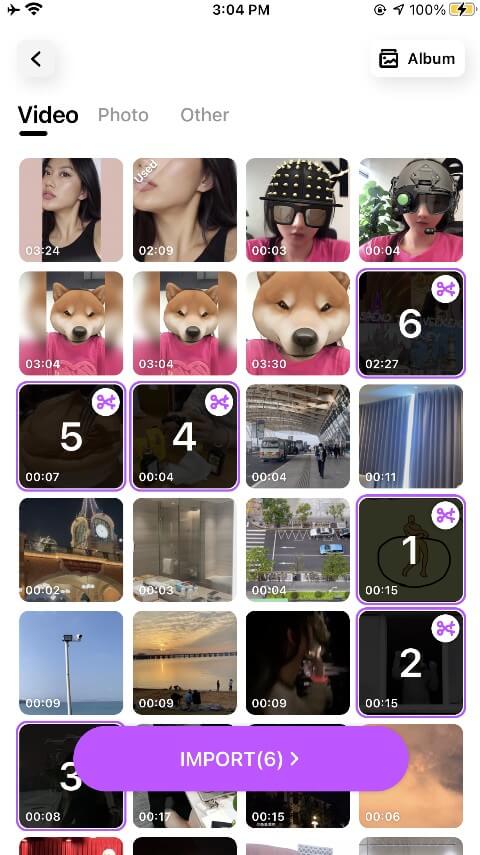
Step2. Click the New Project button and immediately your most recent media files are displayed.
Step3. Select the video you would like to work with.
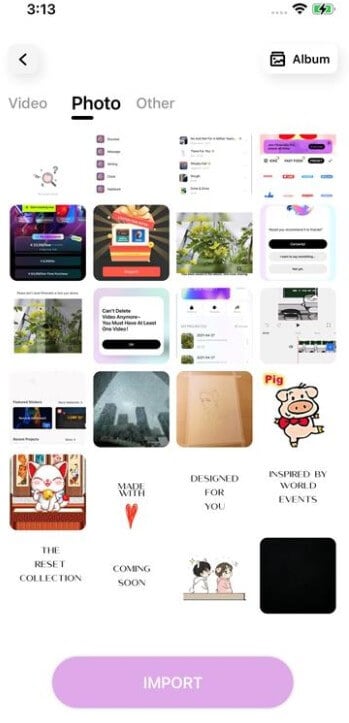
Step4. Click the Import button to transfer the video to the timeline.
3. Trim the video and change the speed
After recording your makeup videos you may realize that it is too long or there are some parts you would like to be cut out from the final result.
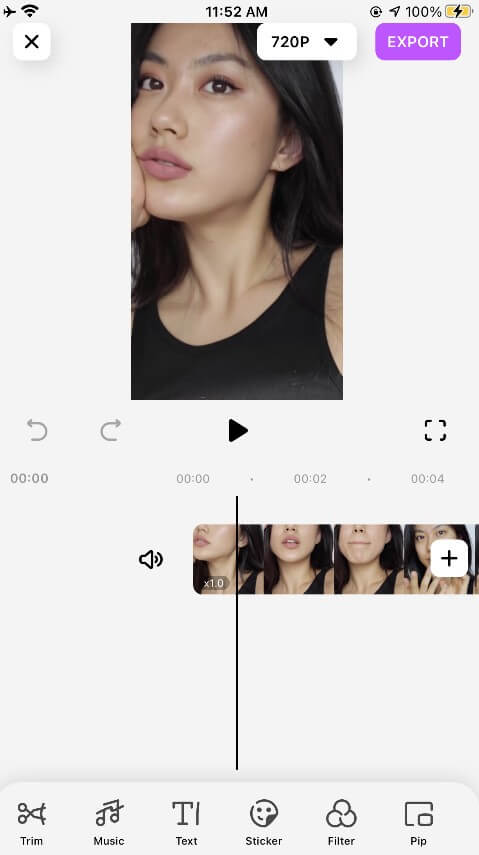
Step1. After importing your videos you will notice some buttons at the bottom of the screen.
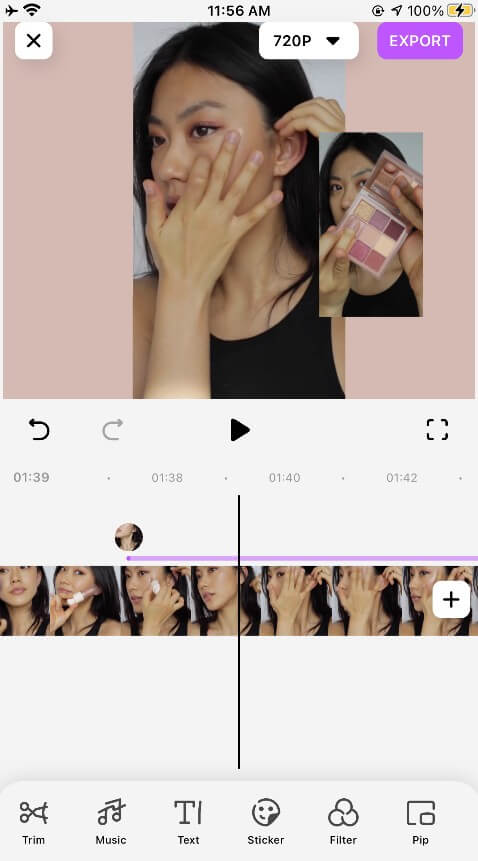
Step2. Select the Trim button/tool and trim your videos by dragging them on the timeline.
You can also split your video into segments and delete the unnecessary parts.
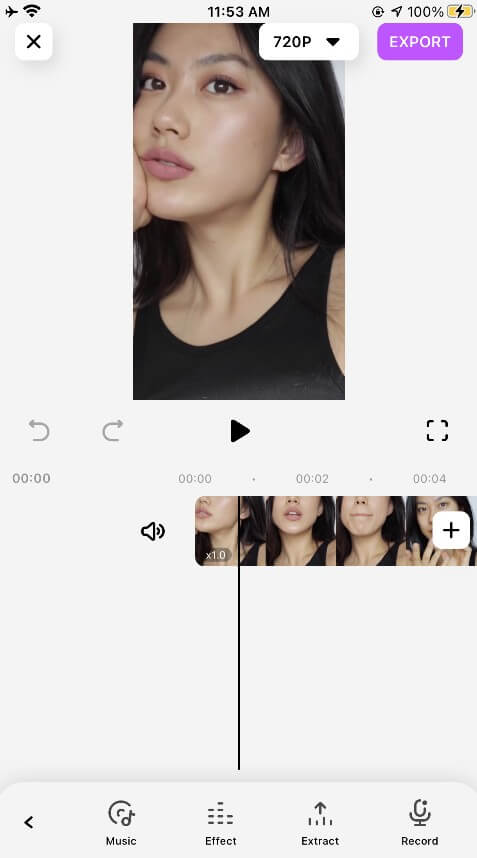
Step3. Another way to put out more content in a short video is to increase the speed of the video,
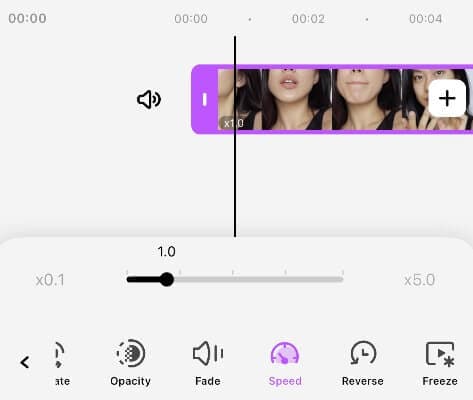
You will also notice the speed button on the bottom of the screen click on it and using the cursor that comes up, increase the speed of the video to what you are comfortable with.
Pretty easy right?
4. Dubbing the video
Now it's time to add a voice-over.
Your voice-over can be you talking to your viewers to keep the video engaging, or a voice note of you carefully explaining steps and makeup products that are being used in the video.
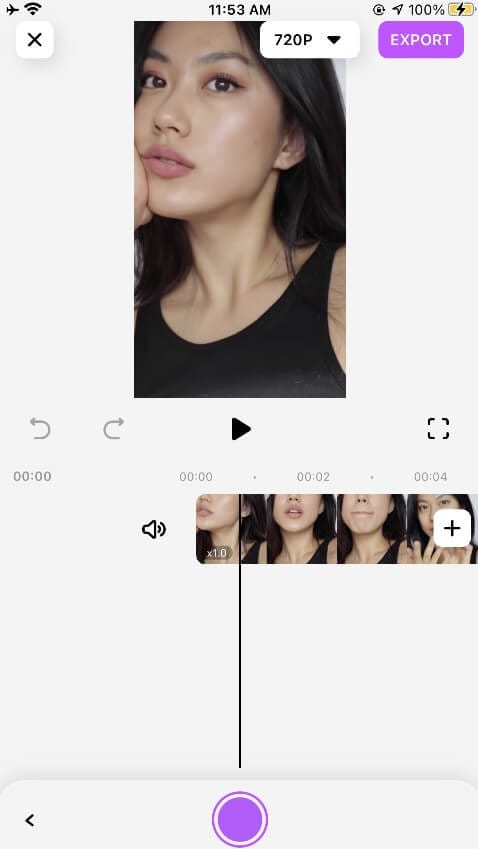
Step1. Now after trimming and increasing speed, go back and click on the music button/tool a bunch of options will come up.
Step2. Click on the one that says record and immediately start making your voice-over.
Make sure the voiceover is the same length as the video.
5. Using the PiP function
Another exciting feature that makes creating makeup videos on FilmoraGo much easier is the Pip function, you can use the PIP function to display the before and after comparison picture.
Pip is also known as the picture in picture, and it allows you to add smaller images or video clips while the background-clip is still playing.
You can use this tool to add a before and after makeup transformation to the video, preferably at the end of the video when you are done with your full face beat.
After adding the voice-over, go back and select the pip button/tool.
Make sure you drag the video on the timeline to the exact timeframe you would like the overlaying picture/video to pop up and click on the add button at the bottom of the screen.

Select the video or picture you would like to use and select import.
You can trim and resize the video/picture till you are satisfied with the results.
6.Now you are done editing your makeup video
All that’s left is to preview it for any errors and to be sure you are satisfied with the final results.
FilmoraGo has other features you can use to had the final touches to your video before exporting.
You may want to adjust your video’s settings such as the brightness, contrast, and saturation using the adjust tool located at the bottom of the screen.
You may also choose to add fun stickers or texts.
When you are satisfied with your work click on the export button at the top left corner of the screen and wait for
FilmoraGo to export and save your video before closing the application.
All that’s left now is to share your video across various platforms and watch the likes roll in.
You may also like: Makeup Vlog Tips: 10 Ways to Glam Up Your Beauty Vlog

