How to Trim YouTube Video on iPhone
Today with the increased use of social media and shifting of the commercial sector towards digital, videography becomes a usual yet very important part of your life.
That's the reason many big mobile companies are focusing on camera quality and video recording features like 4k recording options, slow motion, etc, with increased megapixels of the camera the size of the video also increased thus many of us required to trim the video before uploading to various social media platforms.
So if you are an iPhone user that records many videos on iPhone, and you may want to share them on some social media platforms then the basic question that comes to your mind is how to trim them and upload them to YouTube, so this article is for you showing the three methods of doing it.
- Trim YouTube Video on iPhone in Photos App
- Trim YouTube Video on iPhone via Third-Party App
- Trim the Recorded Video on iPhone in YouTube App before Uploading
Part 1: Trim YouTube Video on iPhone in Photos App
Apple has always been known for its software and cool editing features that allow you to edit and handle your multimedia projects very easily.
One of its features is an inbuilt Photos app where you can trim your videos that you have recorded directly from the camera or have downloaded from other sources.
This app gives you the facility to edit your videos without installing any third-party tool. Here is how to do it.
Firstly make sure you have the video that you want to trim.
Record it and successfully move it to the Photos app. Now let’s see how to trim YouTube videos in the Photos app.
Step1. Grab your iPhone Open the Photos app
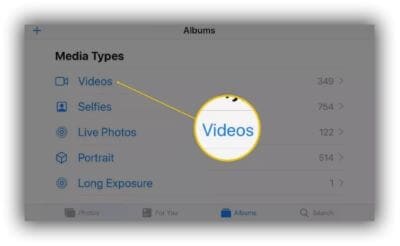
If your iPhone is updated to the latest version of iOS 12, then there is the 'Albums' option at the bottom click it and then scroll down and tap on videos and choose the video you want to trim.
If you don't have the iOS 12 version then open the Photos app and go to the lower right corner, go to 'Albums' and then click 'Videos'.
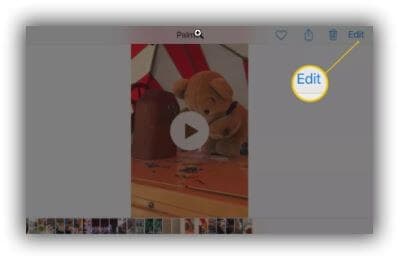
Step2. Go to the top right corner and click on 'Edit', then you will see a timeline bar popping up at the bottom of the screen.
Then choose the white bars at each end of the bar, then tap, hold and drag either end of the timeline bar to start the trim.
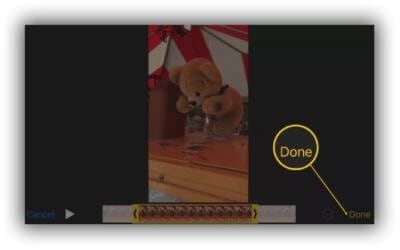
Step3. When you are done with the editing the next step is a preview, click the play icon to preview the video, if you’re satisfied with the trim, tap on “Done” and click “Save as New Clip” on iOS 12.
Then it will save the trimmed videos as a new file on iPhone and leave the original untouched. In earlier versions of iOS, you can click “Trim Original”.
You can only trim the video with the Photos app but can't cut out a middle section and stitch together two separate parts of the video.
You can only save the continuous segments of your video. For that, we have another method that includes the involvement of third-party applications.
Part 2: Trim YouTube Video on iPhone via Third-Party App
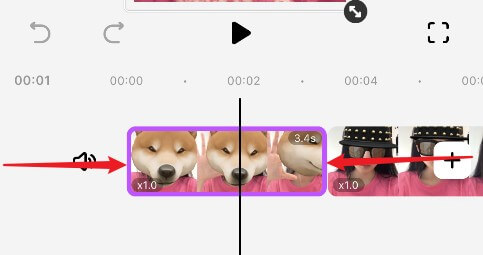
FilmoraGo is the most famous and easy-to-use app when it comes to video editing whether it's Android and iOS. There are no real video editing skills that are necessary to use this application.
You can trim, crop, slip off, the video and match it to songs that are preloaded into the application. This is all available through their free app.
If you want to do some extra editing apart from trimming the video then the also FilmoraGo for iOS is the best app for you. It can trim, add music, crop, split the videos with just a few taps.
Let’s see how to trim video using FilmoraGo for iOS.
First of all open the App Store then download and install the 'FilmoraGo' app to your iPhone. Then follow the steps given below.
every beautiful moment in life.
Install FilmoraGo Now!


Step 1: Run the app on your iPhone and then tap the “New Project” button on the lower side of the interface.

Step 2:Choose the video which you want to trim on the next screen and the video you have selected will be highlighted.
Step 3:Now use the forward and next buttons to trim the video which is available before and after the video.
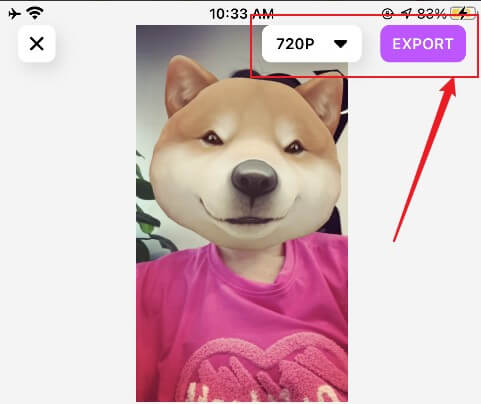
Step 4:You can also use your fingers to pinch the video size in the small one. After editing the video you can easily tap on the “Export” button and save the video on your iPhone camera roll.
Part 3: Trim the Recorded Video on iPhone in YouTube App before Uploading
If you’ve ever edited a video using the Photos app or Instagram, then you’ll probably find the YouTube app to be somewhat similar.
As with new updates, Google has added an in-app editing tool to its YouTube app that helps you to edit your video before uploading it to YouTube.
It’s a standard editor, but it can help you clean up your videos before you post them online for the world to see. You can add a filter, can change the audio and music according to the need.
Here is how to do it.
Editing New Videos Before Uploading
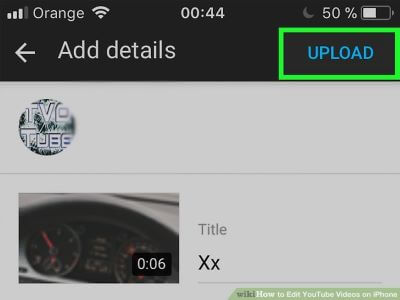
Open the YouTube app on your iPhone click on the Camera icon at the top.
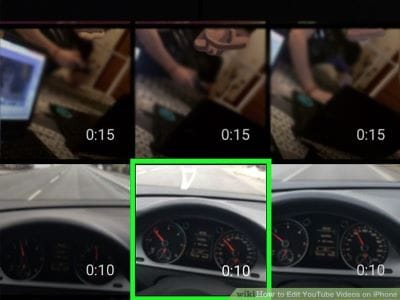
Select the video you want to edit and upload.

Tap the Scissors icon at the bottom of the screen to trim the video.

Using the drag and move options as you use in other applications, complete your trimming, When you’re done with that tap next and give your video a suitable title and description then simply upload it.
Edit videos on YouTube after you post them
This is a little bit difficult as once a video has been uploaded, you can’t make any edits like trimming. You can only edit the text of the video, description, or title of the video. To edit a YouTube video after uploading you need to download the video and then edit it on your mobile or the computer.
After editing you can repost that video but this is bad sometimes and it can affect the rank of your video on the YouTube website.
You may also like: How to Make an ASMR Video for YouTube

