Add Rewind Effect: How to Easily Rewind Video for iOS/Mac users
Rewinding video has been in existence since the first movie or video was made.
Rewinding a video has to do with playing the clip backward. In movies, it is used to re-emphasize on a previous scene.
For instance, there are scenes we all watch at the beginning, more like a prologue that we hardly understand or pay attention to.
But then, the first scene starts to make sense in the middle of the movie when the clips are taken back to that particular incomprehensible scene to give you the thrill of saying “ah, so that’s what led to this”
There’s no doubt that most effects used in movies are now rapidly implemented in short, fun videos.
The rewind effect is not an exception. Rewinding a fun video has to do with creativity.
An instance would be, a video of a milk spilling or kicking a ball, somersaulting or skating.
Now picture that scene in your head backward. Cool eh?.
To implement that effect into any video of your choice on your iPhone, a third-party app is required.
As an Apple user, certain policies or restrictions might hinder you from being able to rewind video nevertheless, we’ve scoured through every third-party app and selected two masterpieces; FilmoraGo and Final cut pro.
These two apps are available for both iOS and Mac devices.
The step-by-step process to respond to video via these video editors will be outlined, all you need to do is take out your phone and let’s get creative!
- For beginners: Rewinding video on FilmoraGo [Step-by-Step]
- For professionals: Rewinding clips in Final Cut Pro [Step-by-Step]
For beginners: Rewinding video on FilmoraGo
FilmoraGo is an easy-to-use video editing application with exceptional editing tools coupled with stunning aesthetic features such as chic filters, fun stickers, animated text, over a thousand royalty-free music, and tons of creativity you would love.
FilmoraGo iOS version requires no payment whatsoever, you can edit your videos for free on this app.
Due to it’s easy, user-friendly intuitive interface, FilmoraGo is ideal for people who just want to make their first rewind video effect.
The steps to utilize this application are easy and should be every rewinding video beginner's go-to app.
We’ve provided you with the ultimate guide on how to rewind video on your iPhone using FilmoraGo.
Step 1: Download FilmoraGo from the App store.
every beautiful moment in life.
Install FilmoraGo Now!


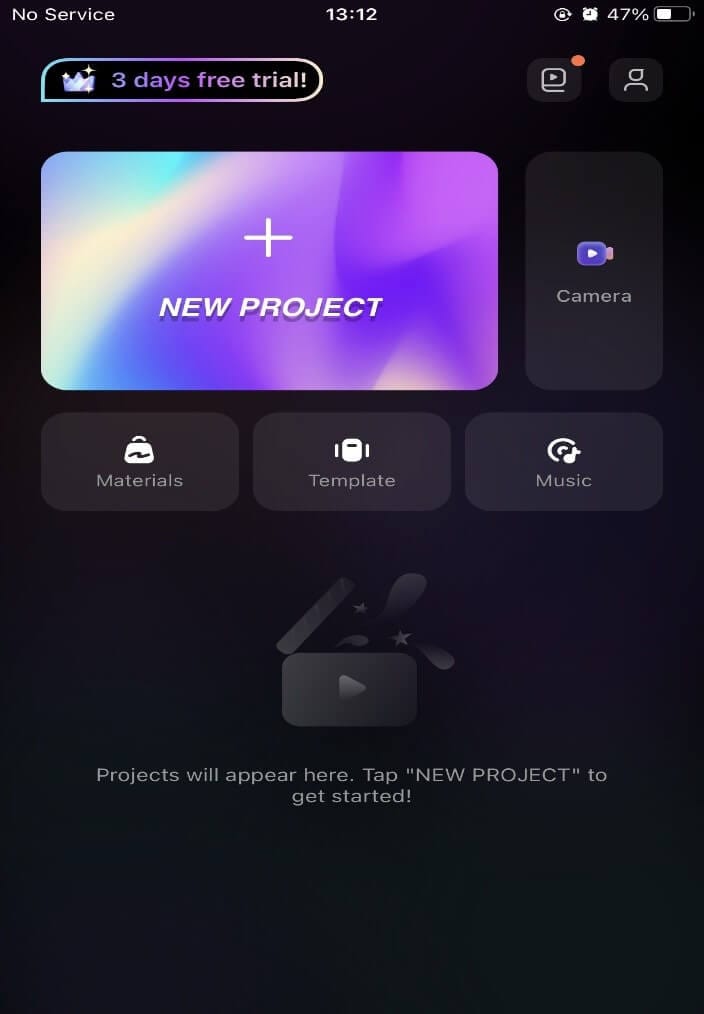
Step 2: start your rewind project by tapping on “new project”
Step 3: Select the video you want to rewind and import it to the timeline

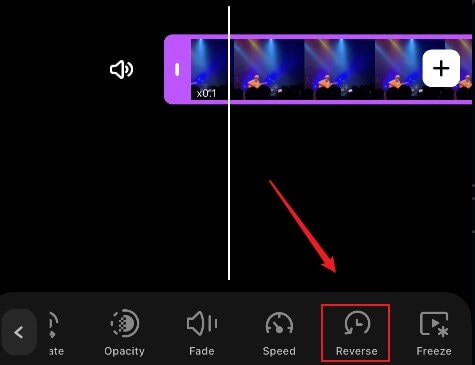
Step 4: Tap on “trim” and scroll backward to tap on the “reverse” option.
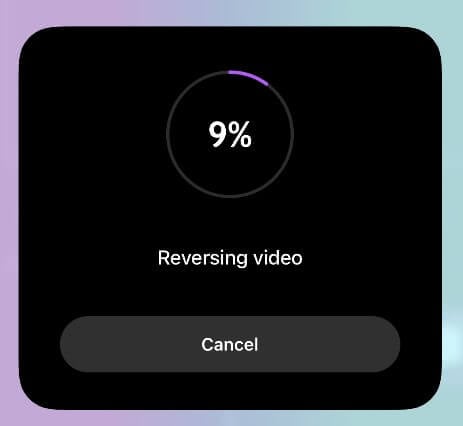
Step 5: The video will be automatically rewinded, during which you can click “Cancel” to cancel.
Step 6: After the video has been reversed, it will automatically be displayed on the timeline.
Step 7: Export and share your video.

If you’ve gotten the hang of rewinding video, it’s safe to add you to the club of rewind video professionals.
Now as a professional, of course, we select only the best for you. To rewind a video, this is where you rewind to our first Final Cut Pro statement.
For professional mac users creative at rewinding video, Final Cut Pro is the ideal app for the job.
Final Cut Pro tells your story powerfully. A video editing app built to edit your clips at a flash speed, super-intuitive, automatically transforming your videos into whatever form you want them to be without doing much.
Final Cut Pro has a contemporary metal engine that lets you edit complex projects with larger frame sizes and higher frame rates.
Final Cut Pro allows you to create and edit your videos while it automatically sync your videos to the different frame sizes of the desired social media you want to share your masterpiece.
You may also like: Good Video Editor Apps: The ultimate guide to choosing a good video editor for yourself
For professionals: Rewinding clips in Final Cut Pro
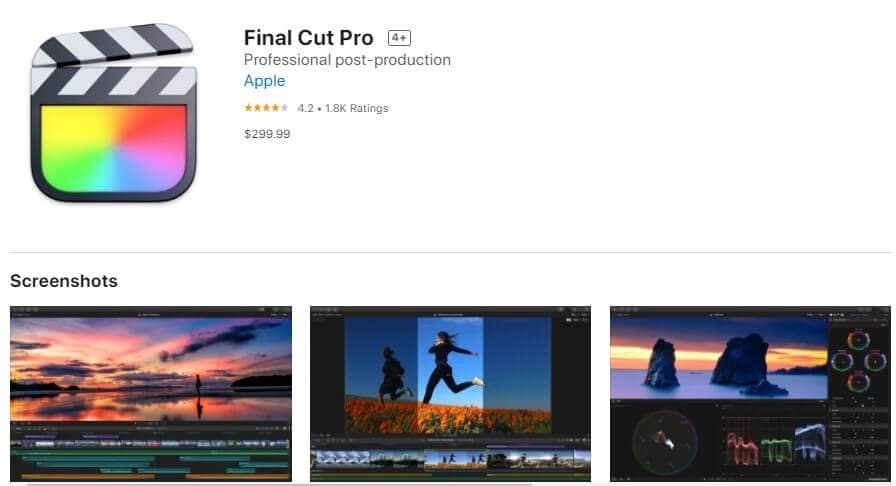
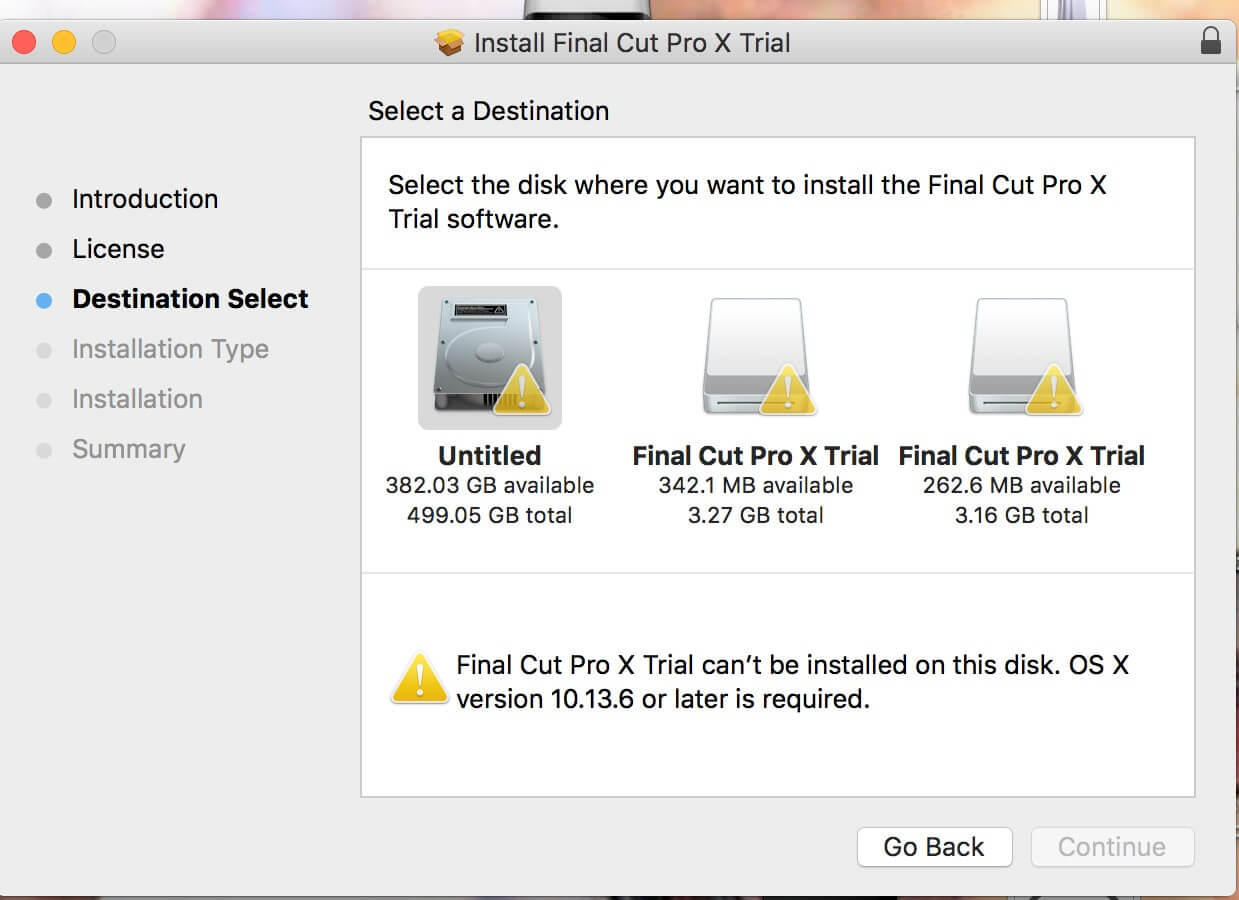
Step 1: Visit the Apple Store on your Mac and search for Final Cut Pro. You can either download the free trial version or purchase it by clicking the “buy” option.
Step 2: Accept the terms and conditions to begin the downloading. Right-click on the downloading file and the Final Cut Pro will be ready to be installed.
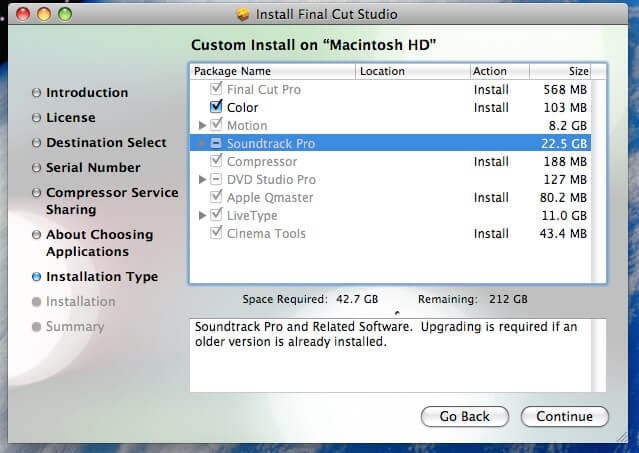
Step 3: Click on installation type and select the packages you want to install then click continue.
Step 4: A new window pops up asking if there’s a need to change the location of the file, if “no” click on install.
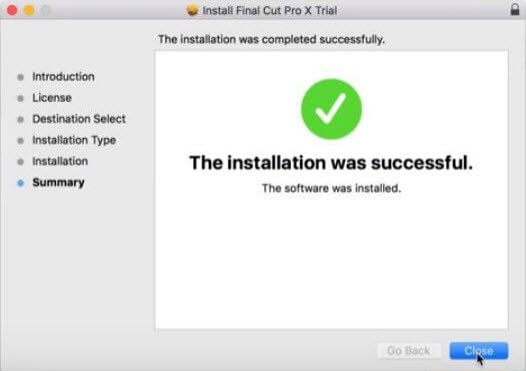
Step 5: Insert your administrator password for installation to begin.
Step 6: Once installation is done, click on “Finder” > “Applications” on your Mac then open Final Cut Pro.
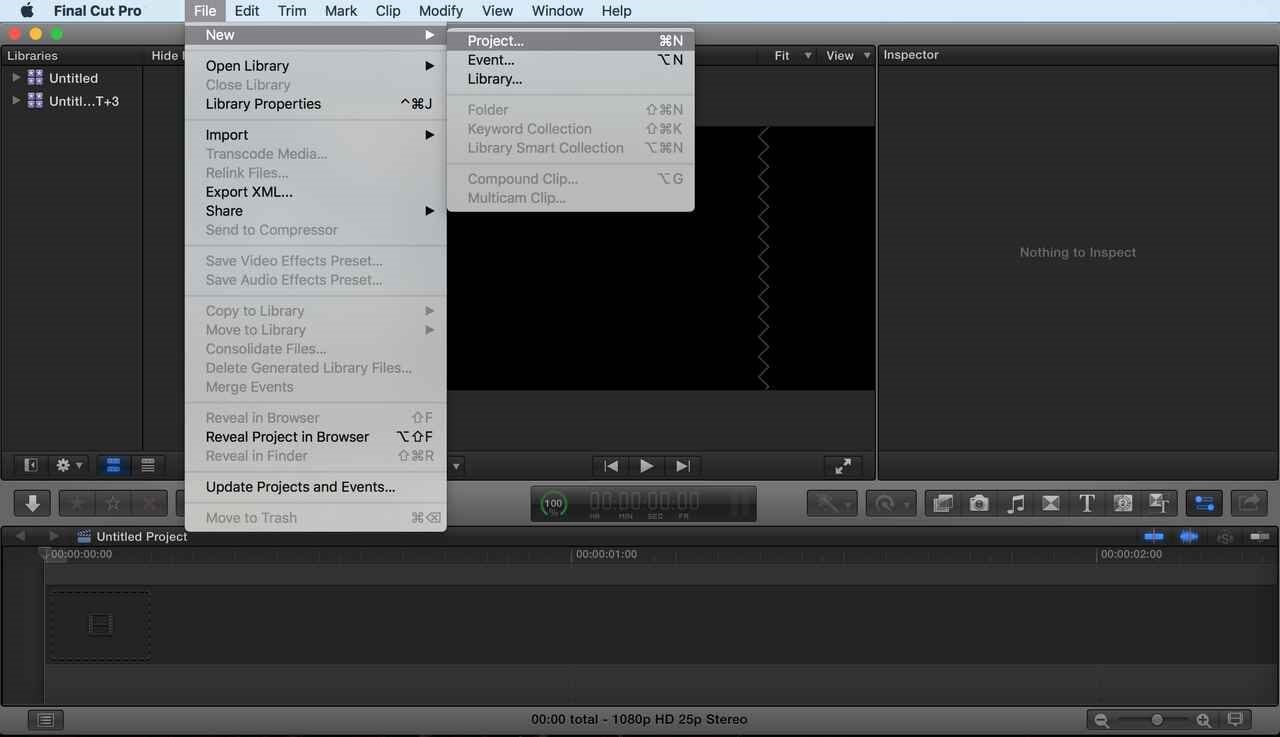
Step 7: In the timeline, select the video you want to rewind.
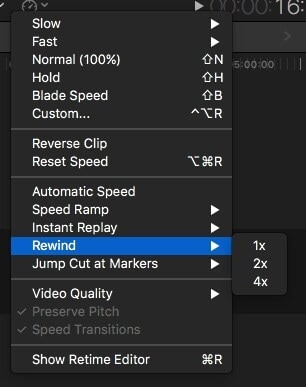
Step 8: Click on the Retime icon below, select rewind, and set a speed.
Step 9: Your selected video is duplicated, added to the end of the original video then rewound at your chosen speed.
Step 10: Drag the retiming handle to adjust the speed of your rewound video.
Step 11: Use the playback function to preview your rewind effect.
You may also like: Make Your Slideshow Stunning On Instagram
Final Word
Rewinding video effect is the time travel we all wish we had in real life.
Unfortunately, we can’t rewind to the past but our videos can.
A simpler way of editing your video to a rewind effect is using your iPhone and the FilmoraGo app.
You can easily create your video and share it instantly to friends and social media platforms.
Download FilmoraGo from the App store now!
You May Also Like: Freeze-Frame Effect: How to Freeze Part of a Video on FilmoraGo for Free

