How to Delete Audio From Video on iPhone
Silence is golden than the alternative. The facts confirm that occasionally, quiet is more impressive than words. This standard additionally applies to video altering - at times, you need to quiet your video or eliminate sound from its anything but a superior impact.
There are a huge number of reasons why you needn't bother with any soundtracks: a low solid quality, aggravating voices, baffling naming. In the most probable cause, you simply need this recording as a base for another voice-over or need to make a slideshow out of it.
The uplifting news is, current advances and apparatuses make this interaction very simple in any event, for beginner clients. Along these lines, continue to peruse and become more acquainted with how to eliminate sound from an iPhone video in a few short advances.
- Part1. Steps to Delete Audio From Video with built-in Photo App
- Part2. Steps to Delete a Specific Audio from Video with FilmoraGo
Part1. Steps to Delete Audio From Video with built-in Photo App
In some cases, you'd prefer to impart a video to other people, however, going with the soundtrack is diverting or maybe presents protection concerns. Fortunately, there's a speedy method to quiet a video utilizing Photos on iPhone and iPad. Here's the secret.
Now and then, you need to impart a video to other people, yet going with a soundtrack diverts you and may even reason protection issues. Luckily, there is a fast method to quiet the video utilizing "Photographs" on the iPhone and iPad. This is the way to do it.
How to Remove Audio from Video on iPhone and iPad
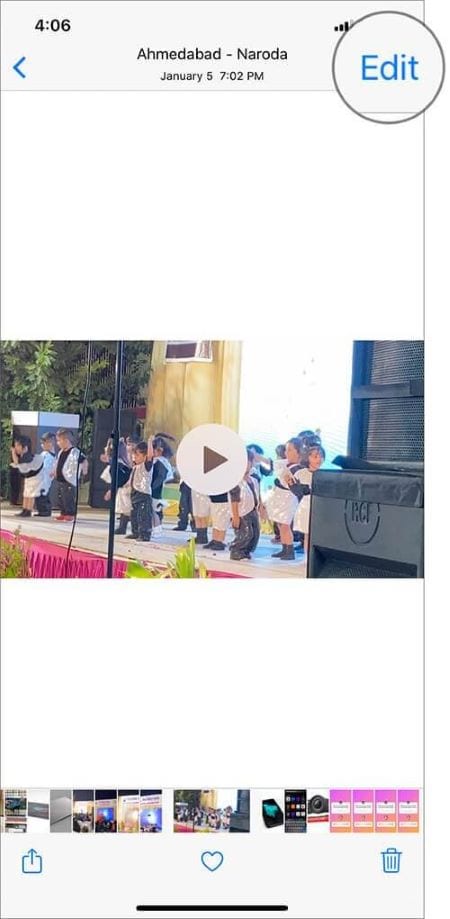
Step 1. Head over to the video and then tap on Edit.
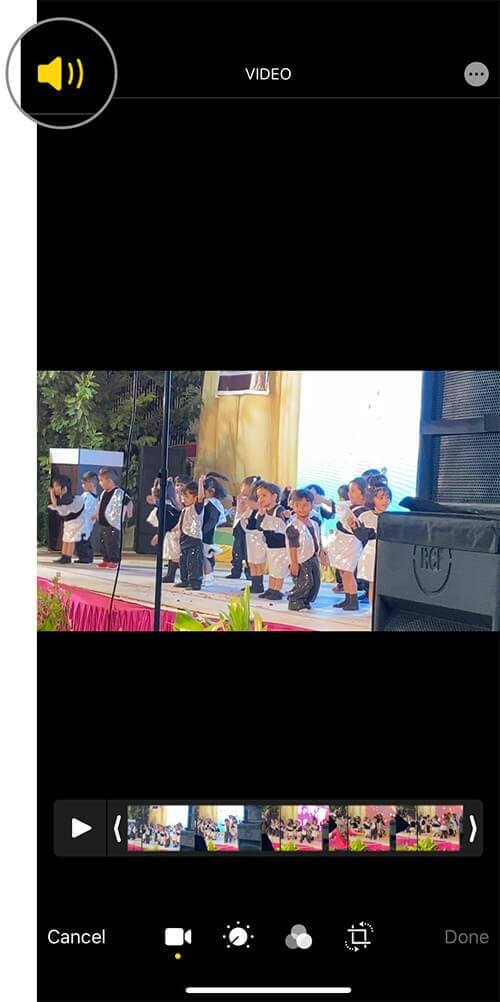
Step 2. Next, tap on the yellow-colored volume icon from the top left.
Step 3. Finally, tap on Done.
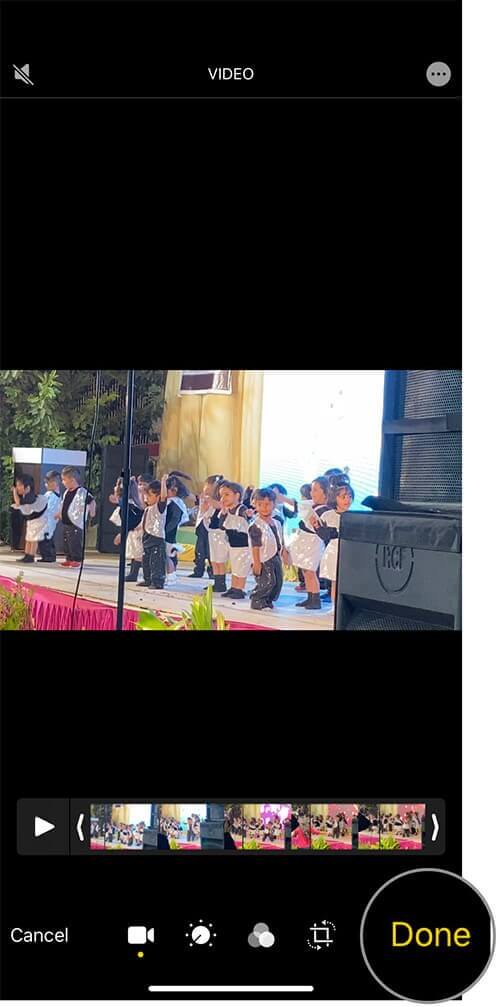
Step 4: Play the video, and you will find that it has no sound. Also, if you notice, you will see that the volume icon is greyed out.
This strategy was the least difficult and you don't have to download any application. As you saw, it was not four taps! Nonetheless, if you are searching for a substitute strategy, track along the next part of this guide as it won’t let you mute but also delete whatever is unnecessary for your videos.
Part2. Steps to Delete a Specific Audio from Video with FilmoraGo
Fortunately for us, there are a couple of iPhone applications that permit erasing undesirable sound from recordings. Also, it's anything but advanced science. Video recording happens in different settings, including the boisterous regions.
If your iPhone records an occasion in a boisterous region, your video will have horrendous sounds that make watching recordings uncomfortable. Rather than persisting, this load of un-merriments utilizes the best technique, FilmoraGo, to eliminate sound from the iPhone video.
every beautiful moment in life.
Install FilmoraGo Now!


On the off chance that you should eliminate sound in the iPhone, there are assortments of iOS applications that prove to be useful. The best part about these apparatuses is that the larger part is free and simple to introduce, making how to eliminate sound from the iPhone video very quickly.
If you need to eliminate the sound from a video you're altering on your iPhone, you can do that by utilizing the FilmoraGo application, which is an overall video manager that enormously extends how you can manage your recordings, including pivoting scenes and consolidating cuts into a more drawn-out film.
Assuming you haven't effectively introduced FilmoraGo, do that first, and it's a basic interaction to perform the audio removal from the content.
Step 1: Download and Install FilmoraGo
In the first step, you need to install the application to your iOS gadget, and to do that, go to the App Store and find out the official application to download and install it hassle-free.
Step 2: Launch FilmoraGo
After installing FilmoraGo from the above link, now head to the following steps to open your video in software. Open the masterpiece FilmoraGo from your iOS Home Screen and then select the video in which you want to remove the music from your device files.
Step 3: Import your media
Click on the Add New icon at the left side of your app interface. After the selection has been done, advance with an opening that enables the video to open in the FilmoraGo interface.

After you have opened your video in FilmoraGo, now is the time to import your audio media to the app environment. In able to do that, follow the below steps explained with pictures.
Note: FilmoraGo will automatically detect all the format videos from your iOS library with full effectiveness.
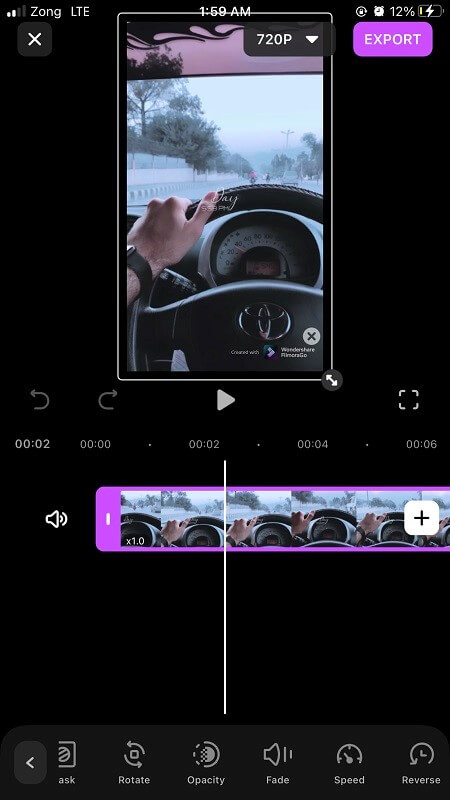
Step 4: Delete Audio from Video
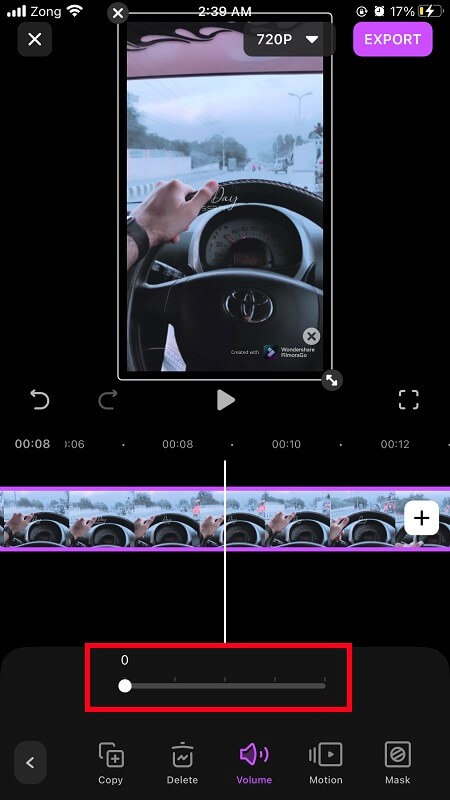
Now as you are done with your audio and video files addition to the FilmoraGo, here come the steps of deleting your audio file right from the timeline. To do that, select the audio file and go to the Volume option from the menu enlisted below:
 Right after you selected the audio file, hit the delete button situated on the app screen visible. This button will directly delete the file from the video.
Step 5: Edit the Video
After deleting your music from your video, here in this step edit the remaining part of the video by dragging your new audio file to the timeline following the video as it's running.
You can apply a variety of effects to your video as well as newly added audio of the file as well with the FilmoraGo numerous features that help you gain the audio spectrum of your video to the best extent.
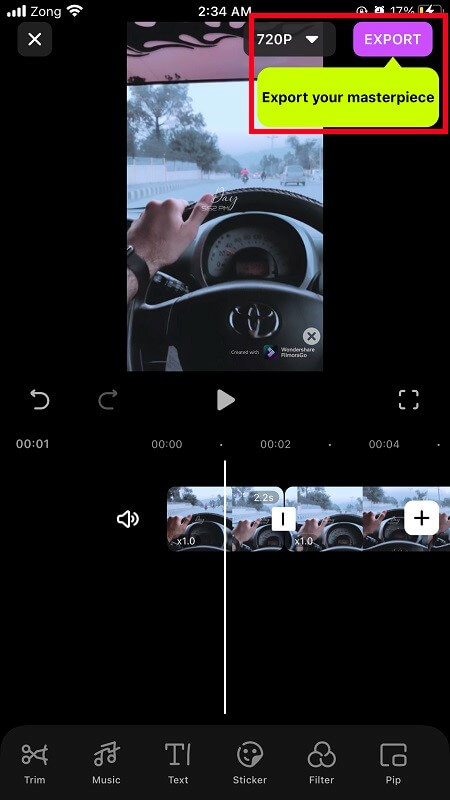
Step 6: Save the File
Lastly, hit the Export button that will export your deleted audio file to your iOS device without compromising the quality of the video.
You may also like: How to add sound effects to a video on iPhone
Conclusion:
Utilizing your iPhone to catch video and sound can be advantageous, however on the off chance that they aren't erased, those records can begin to eat up genuine space on your gadget.
After some time, you will not have space for putting away pictures, new applications, new sound or video, and other information that can be basic to maintaining your video files.
You can erase sound and video chronicles that you presently don't require admittance to on your gadget with this astonishing app for iOS, FilmoraGo, by choosing those records in the suitable application and afterward erasing them.
You may also like: How to Add Background Music to Video

